 Thaka.Ai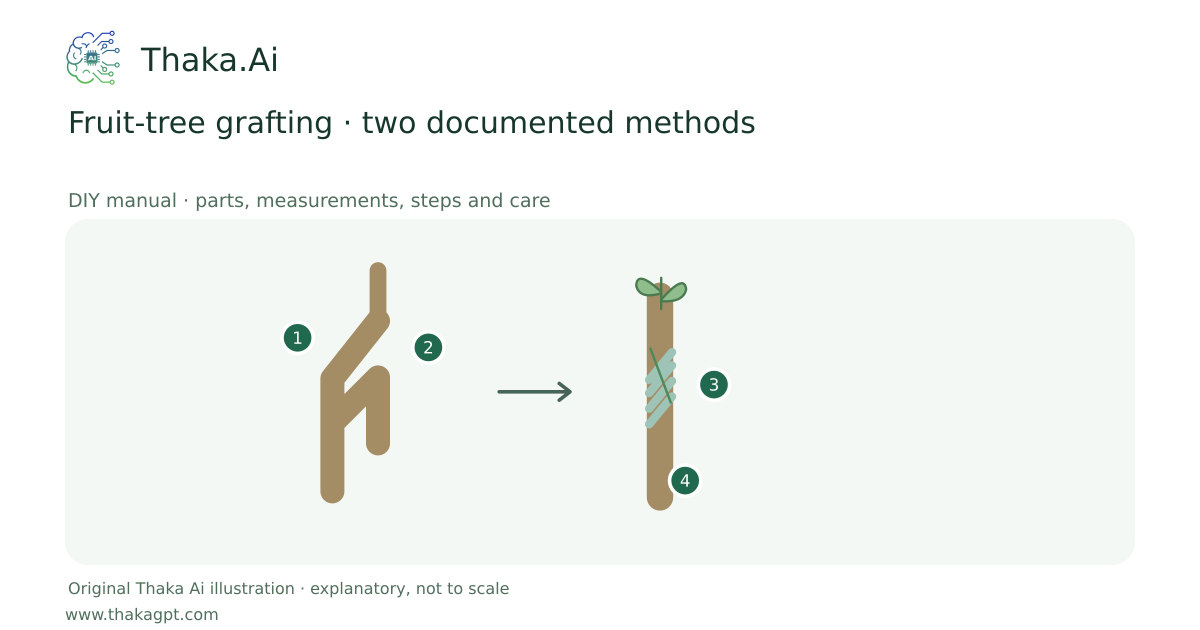
Reviewed 17 October 2026 · schematic not to scale
Join a selected scion to compatible rootstock. Practise first on spare wood and choose ONE method suited to the measured diameters.
- 1Compatible stock and scion; measure both diameters
- 2Choose one documented cut method
- 3Align the cambium at a matching edge
- 4Wrap, seal, label and check for girdling
Site and operating requirements
- Identify crop, season, water quality, soil/medium and local heat. Measure materials before cutting and confirm support and drainage.
Tools and measuring equipment
- Grafting knife, sharp pruners, millimetre ruler, wrapping/seal, labels and hand/eye protection. Keep spare practice wood on a stable bench.
Output and operating conditions
A labelled graft union and care record; compatibility and union success must be observed.
Whip-and-tongue source: matching 6–13 mm stock/scion, diagonal faces 25–51 mm, tongue 13–25 mm. Cleft source: scions about 10–16 mm diameter and 76–127 mm long; split about 51 mm. These are different methods, not combined cuts.Parts, quantities and dimensions
| Part | Quantity | Specification / dimensions |
|---|---|---|
| Compatible healthy stock and dormant scion | 1 set | Confirm species/cultivar compatibility and local season with a nursery. An apple rootstock is an example; not every fruit tree can accept every fruit scion. |
| Knife, pruners and ruler | 1 set | Clean sharp grafting knife, supported work surface, hand protection and spare practice wood; cleft tool only for that method. |
| Wrapping, seal and labels | 1 set | Purpose-made grafting tape and compatible grafting sealant; label cultivar, rootstock, method and date. |
Preparation and component checks
- Read the size notes first. Measure the purchased parts and label every piece before making any cut or hole. Keep access and cleaning space clear.
- Gather the whole shopping list, dry-fit where applicable and keep the complete linked source at hand. Source dimensions and original sizing examples are identified separately.
Procedure
- 1
Confirm the plant combination, rights to propagate and correct dormancy/bud stage. Do not copy a foreign month into the local calendar.
- 2
Choose whip-and-tongue for matching source-sized stems, or the complete cleft method for a larger stock; lay out the tools for that method.
- 3
Whip method: make matching sloping faces, start the tongue roughly one-third down each face, cut carefully and interlock. Keep fingers out of the blade path.
- 4
Cleft method: use the source split, shape two scion wedges and position them at opposite outer edges. Release the split-holding tool gently. Do not perform the whip cuts on this assembly.
- 5
Align the living cambium just under the bark on at least one side; equal outer bark edges alone are insufficient. Wrap to prevent movement and drying.
- 6
Seal exposed cut surfaces as directed without covering viable buds. Support the graft against wind and label it.
- 7
Inspect growth and the union regularly. Remove competing rootstock shoots appropriately and loosen/remove non-stretch binding before it girdles the stem.
Ready-to-use checklist
- The selected source method, compatibility, cambium contact, seal and support are all confirmed; new growth alone is not proof of a strong union.
- All edges, supports, drainage and access have been checked. Unknown critical specifications have been resolved before use.
Safety and inspection
Use the specified materials and complete source method. Ask a competent local specialist where site loads, electricity, water safety or unfamiliar tools are involved.
Verify the result
The selected source method, compatibility, cambium contact, seal and support are all confirmed; new growth alone is not proof of a strong union.
Measurement log
- Date, actual dimensions, material/product labels, water/soil readings, actions, problems and results. Photograph the setup before use and after any change.
Maintenance and repeat checks
- Check seal cracks after 2–3 weeks and after wind. Keep the union stable; failed grafts require diagnosis, not extra fertiliser.
- Maintain suitable root-zone moisture and protect new shoots from heat and rubbing. Keep some established canopy during staged top-working.
Troubleshooting
- Unexpected decline, pests, odour, poor growth or animal distress
- Pause the affected activity, separate suspect material and check the guide’s moisture, heat, hygiene, drainage and care requirements. Get a qualified diagnosis before treatment or reuse.