 Thaka.Ai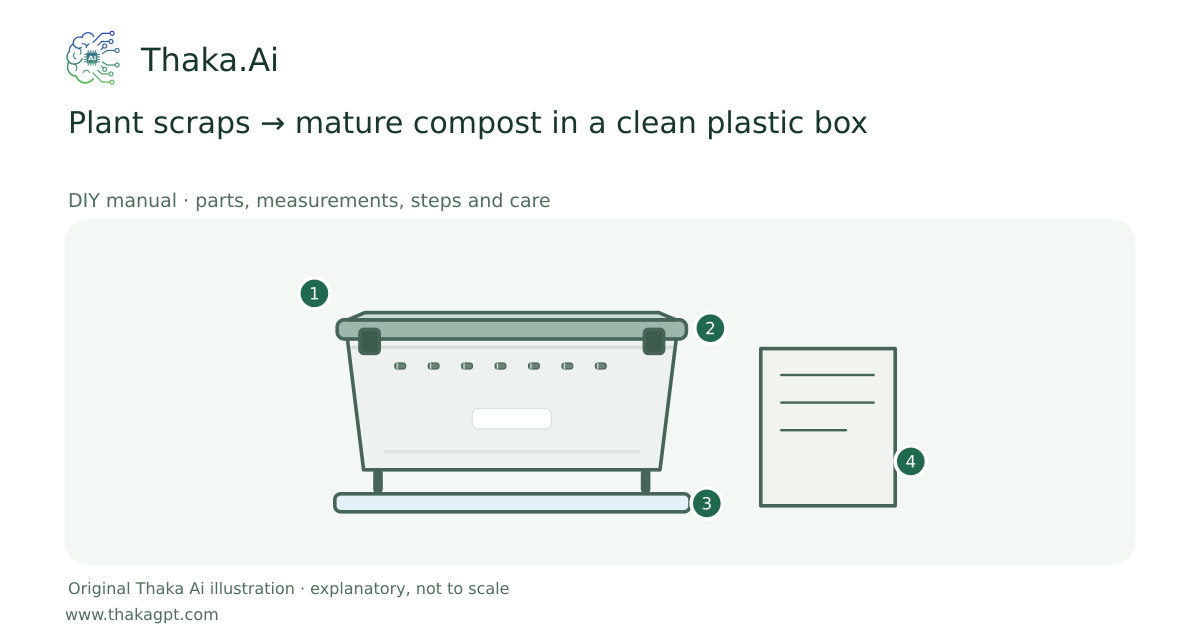
Reviewed 17 October 2026 · schematic not to scale
Use an ordinary covered, ventilated plastic storage box for a small plant-scrap compost pilot. This is an aerobic process, without fly larvae or a sealed rice-water fermentation.
- 1Clean plant scraps and dry shredded cardboard
- 2Closed plastic box with screened airflow
- 3Mix, check moisture and keep drainage contained
- 4Cure until mature; mix only after an appropriate test
Site and operating requirements
- Separate waste from feed and drinking water. Record input history, temperature, moisture, runoff and compost quality.
Tools and measuring equipment
- Tape, marker, supported drill with 2 mm and 4–6 mm bits, deburring tool, mesh, gloves, scoop and thermometer.
Output and operating conditions
Cured plant-waste compost after actual maturity checks, not an instant complete growing mix or livestock feed.
Original manageable pilot: one 40–60 L shallow opaque box, fitted vented lid and a larger catch tray, kept on the ground. Small units do not reliably reach validated hot-compost sanitation temperatures. Composting time follows conditions and maturity, not the clip’s transformation.Parts, quantities and dimensions
| Part | Quantity | Specification / dimensions |
|---|---|---|
| Opaque plastic box, lid, mesh and catch tray | 1 set | Known clean history; no chemical container. Original box adaptation: two upper-side rows of 4–6 mm screened vents at about 50 mm spacing; 2 mm floor drains about 75 mm apart. Measure before drilling, support on stable spacers, keep the lid fitted but never airtight. These are pilot dimensions, not a thermal-compost design. |
| Dry carbon and chopped plant scraps | as needed | Plain shredded cardboard, dry leaves and clean vegetable/fruit scraps. Keep a supply of dry carbon to cover food and correct excess moisture. No meat, dairy, animal manure, oils or diseased plants in this beginner box. |
| Mixing and monitoring kit | 1 set | Gloves, scoop/hand fork, thermometer, small water measure and a batch label; a separate resting box is optional. Wash tools after handling waste. |
Preparation and component checks
- No sealed fermentation or animal waste in this beginner batch. Cold-drill only an empty supported box.
Procedure
- 1
Choose a shaded ventilated ground-level place with contained drainage and access. Measure the purchased box and mark the original pilot holes on the empty container.
- 2
Cold-drill, deburr, secure insect mesh and test drainage above the tray. Set on stable spacers so the base does not sit in liquid.
- 3
Start with loose dry carbon bedding. Add a small chopped plant-scrap layer, mix through the dry material and cover all exposed scraps with carbon. Leave room to mix.
- 4
Adjust moisture toward a wrung-out sponge: add dry material for wet clumps, or small measured water for dry material. Fit the screened ventilated lid.
- 5
Inspect frequently and mix to keep air spaces. If sour or slimy, pause feeding, loosen and add dry carbon; prevent overflow and pests. Do not seal in banana scraps, shells and rice water.
- 6
When the batch is filled to a manageable level, stop fresh additions and allow a separate curing period. Use another box for new scraps if needed.
- 7
Use only after the batch is stable, earthy and crumbly with no recognisable fresh food or renewed strong activity. Screen coarse pieces back to a new batch; test maturity and salts before blending into crop media.
Ready-to-use checklist
- The lid closes with screened airflow, no pooling or odour persists, fresh additions have stopped and maturity/salt checks support the intended use.
- Resolve any missing critical material, support or operating specification before starting.
Safety and inspection
This small box is not a pathogen-kill process. Use the separate managed manure-compost guide for livestock waste. Peel water, onion/apple/rice-water tonics and orange-peel sprays have no validated complete nutrient or pest-control recipe here.
Verify the result
The lid closes with screened airflow, no pooling or odour persists, fresh additions have stopped and maturity/salt checks support the intended use.
Measurement log
- Date, actual dimensions/working volume, product labels, readings, actions and results. Keep before-and-after photographs.
Maintenance and repeat checks
- Check odour, moisture, vents, temperature and tray frequently; increase checks in hot MENA weather and after adding wet scraps. Keep the exterior and lid clean.
- Collect drainage without runoff; it is untreated leachate, not ready fertiliser or pesticide. Wash tools, empty the tray appropriately and keep children/animals away.
Troubleshooting
- Unexpected decline, pests, odour, poor growth or animal distress
- Pause the affected activity, separate suspect material and check the guide’s moisture, heat, hygiene, drainage and care requirements. Get a qualified diagnosis before treatment or reuse.