 Thaka.Ai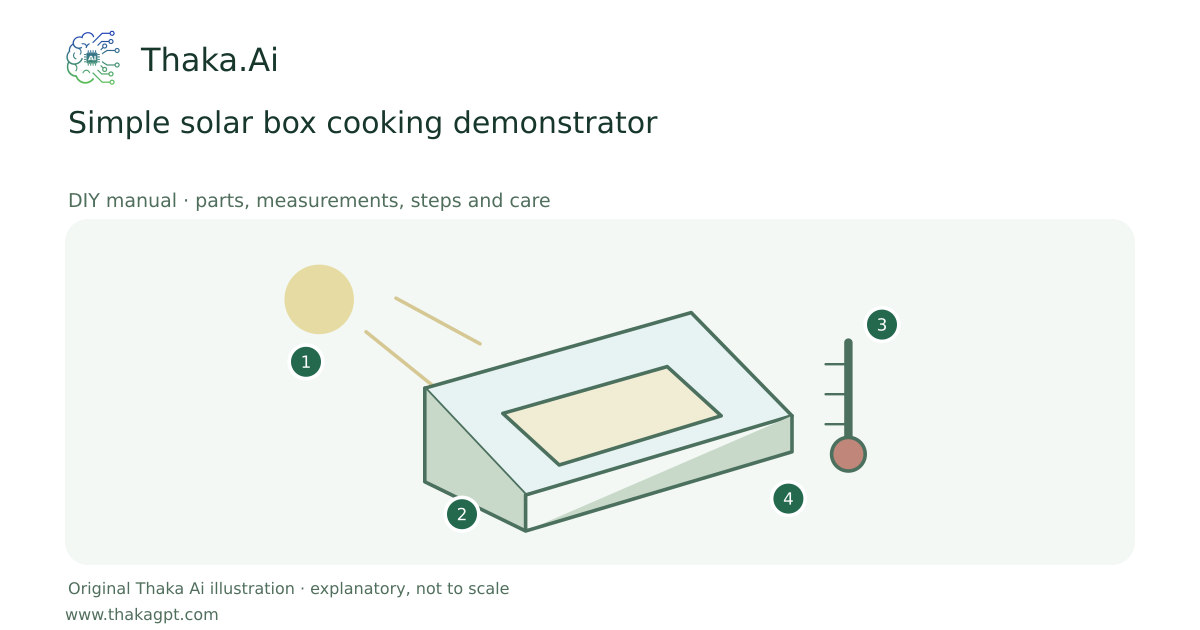
Reviewed 17 October 2026 · schematic not to scale
An insulated box, reflector, dark cooking vessel and suitable clear cover demonstrate solar cooking. Treat a first build as a measured cooking experiment.
- 1Measured sunlight or other heat input
- 2Purpose-suitable collector or insulated vessel
- 3Temperature, time and handling checks
- 4Measured useful heat; source-specific limits
Site and operating requirements
- Measure heat demand and site exposure. Separate an educational solar-heating experiment from a pressurised domestic hot-water installation.
- Check materials, temperature limits, stability and burn protection before introducing heat.
Tools and measuring equipment
- Ruler, cutting tools, thermometer and heat-resistant gloves
Output and operating conditions
No universal temperature or cooking time is promised. Use a food thermometer and a food-safe time/temperature process; keep a conventional cooking backup.
Published educational plans establish the principle. An original 400 × 400 mm internal footprint is a planning example only; actual clearances and hot-material compatibility must be checked.Parts, quantities and dimensions
| Part | Quantity | Specification / dimensions |
|---|---|---|
| Insulated cooker body | 1 | Heat-compatible chamber and insulation; example internal area 400 × 400 mm. |
| Reflective panel | 1 | Smooth foil or equivalent reflector on a stable support. |
| Dark heat-safe vessel and cover | 1 set | Food-contact vessel and glazing approved for the temperatures reached. |
| Food thermometer and oven gloves | 1 each | Measure food directly and handle hot components safely. |
Preparation and component checks
- Use only heat-suitable materials in the chamber.
- Prepare an independent cooking fallback.
Procedure
- 1
Choose a published box-cooker principle and draw your measured layout.
- 2
Check every material for the expected heat and food-contact use.
- 3
Build the insulated body with a stable reflector.
- 4
Fit a heat-safe dark vessel and transparent cover without dangerous sealed pressure.
- 5
Aim toward clear sun and log temperatures through the trial.
- 6
Cook only with verified food-safe temperatures; transfer to backup cooking if the process is inadequate.
Ready-to-use checklist
- The reflector is stable with no hazardous glare.
- Food temperatures can be measured directly.
Safety and inspection
Never use ordinary storage plastic in the hot chamber. Avoid concentrated glare, flammable insulation near hot surfaces and unverified cooking of raw animal foods.
Verify the result
Log chamber and food temperatures under actual sun; the first trial should use a low-risk demonstration rather than a critical meal.
Measurement log
- Sun conditions, chamber and food temperatures
- Food-safe process and fallback decision
Maintenance and repeat checks
- Clean food-contact parts and dry the chamber after cooling.
- Inspect reflector stability, glazing and insulation before each use.
Troubleshooting
- No output, abnormal heat, noise, vibration or leaks
- Stop and isolate first. Check the documented input, load compatibility, alignment and connections; keep guards fitted and refer specialist systems to their installer.