 Thaka.Ai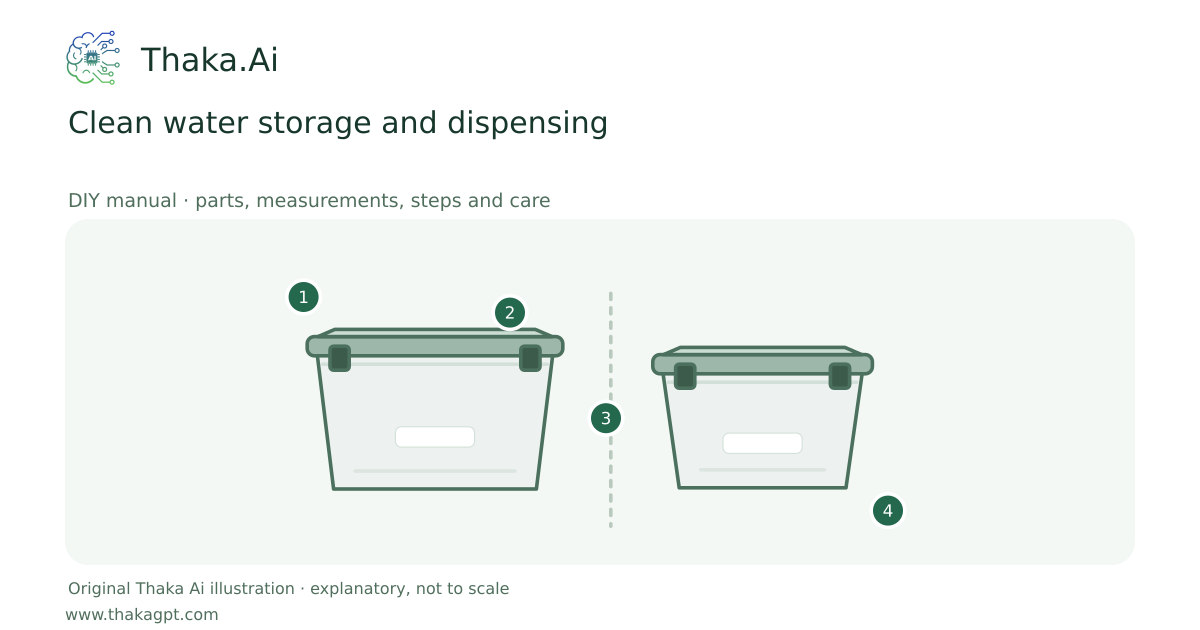
Reviewed 17 October 2026 · schematic not to scale
Protect carried or treated drinking water against recontamination with a closed, dedicated vessel.
- 1Known suitable water or dry supplies
- 2Clean compatible container and fitted cover
- 3Separate clean and dirty handling paths
- 4Inspect, label and renew as required
Site and operating requirements
- Identify intended use and likely biological, chemical and salt contamination before choosing treatment. Obtain suitable water testing.
- Keep raw-water and treated-water containers, tools and hands separate. Use clean covered storage.
Tools and measuring equipment
- Clearly marked measuring syringe or spoon
- Waterproof date label
Output and operating conditions
Select a closable narrow opening; 5–8 cm is a public-health storage benchmark. Water weighs about 1 kg/L.
A 5–10 L rectangular vessel is an original portable example; choose carrying mass and capacity for the actual route.Parts, quantities and dimensions
| Part | Quantity | Specification / dimensions |
|---|---|---|
| Dedicated rectangular drinking-water vessel | 1 | Example 5–10 L with a secure cap and handle; known safe material and use history. |
| Soap and suitable sanitiser | 1 set | For container sanitation with unscented 5–9% sodium hypochlorite only: 5 mL per 1 L cleaning solution, not drinking-water dosing. |
| Clean dispensing cup or tap | 1 | Pour without dipping hands or used cups into the vessel; guard the outlet in transport. |
Preparation and component checks
- Read the actual bleach concentration; do not substitute a different concentration in this formula.
- Decide how the filled container will be lifted and secured.
Procedure
- 1
Choose an intact known-history food-contact vessel; remove any chemical-use container from the project.
- 2
Wash with soap and water and rinse completely before sanitising.
- 3
For the stated 5–9% bleach concentration, mix the container-cleaning solution and wet all internal surfaces.
- 4
Keep the sanitising solution in contact for at least 30 seconds, empty, then air-dry or rinse with safe water.
- 5
Fill with safe water, close and label drinking water plus treatment or fill date.
- 6
Transport upright, keep cool and shaded away from fuel, and dispense without touching the inside.
Ready-to-use checklist
- Cleaning solution emptied; safe water filled and labelled.
- Outlet protected and lid firmly closed.
Safety and inspection
Never reuse chemical containers for drinking water. A closed vessel preserves treatment; it does not itself purify water. Do not drink cleaning solution.
Verify the result
Check the lid, food-contact suitability, treatment label and clean dispensing method before filling.
Measurement log
- Cleaning, fill and treatment dates.
- Safe volume available and condition of seals.
Maintenance and repeat checks
- Clean regularly and whenever contaminated; inspect seals and taps for dirt and cracks.
- Empty, dry and store open only after the trip; close clean vessels before the next journey.
Troubleshooting
- Flow/cycle outside the documented range or failed test
- Do not use the output for drinking. Recheck raw-water quality, batch volume, seals/media/device status and the complete source instructions. Retest after correction.