 Thaka.Ai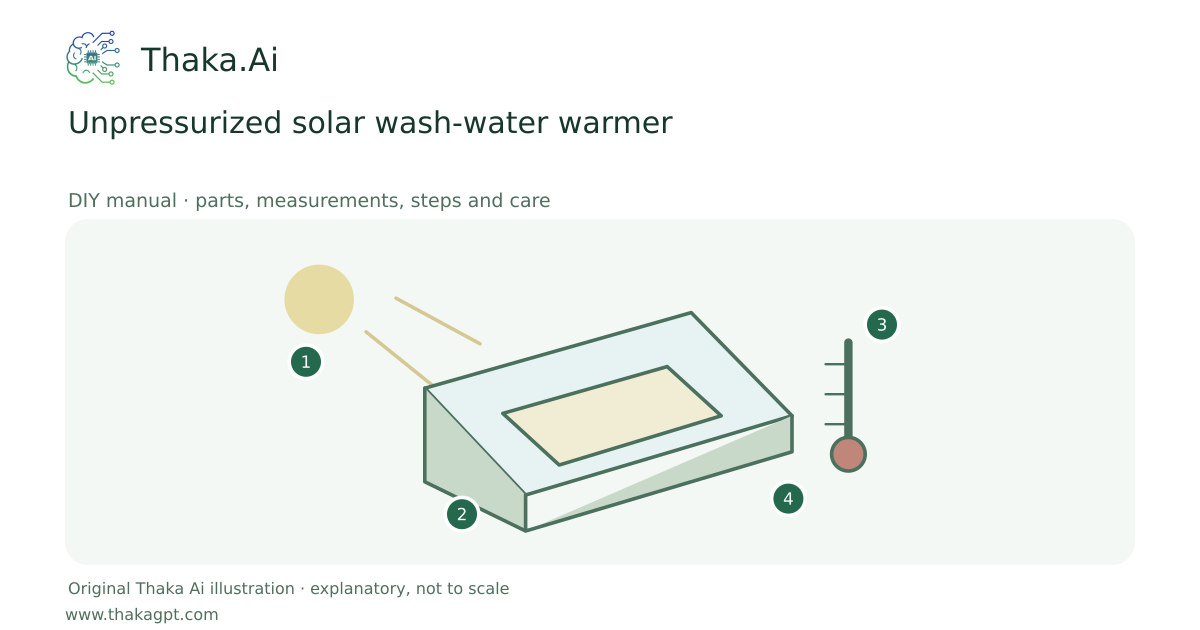
Reviewed 17 October 2026 · schematic not to scale
Warm a small amount of wash water in a purpose-suitable dark container or gravity-flow collector. Keep it open to atmospheric pressure; this is not drinking-water treatment.
- 1Measured sunlight or other heat input
- 2Purpose-suitable collector or insulated vessel
- 3Temperature, time and handling checks
- 4Measured useful heat; source-specific limits
Site and operating requirements
- Measure heat demand and site exposure. Separate an educational solar-heating experiment from a pressurised domestic hot-water installation.
- Check materials, temperature limits, stability and burn protection before introducing heat.
Tools and measuring equipment
- Thermometer, measuring jug and suitable clamps
Output and operating conditions
Example: warming 5 L by 15°C stores about 87 Wh of heat, using 4.18 kJ/kg·°C. Time depends on sunlight and heat losses.
Original thermal arithmetic. A published demonstration uses 0.9 m of 6 mm outside-diameter tubing on a 28 × 43 cm board; it is an experiment, not a validated full-size shower.Parts, quantities and dimensions
| Part | Quantity | Specification / dimensions |
|---|---|---|
| Heat-suitable gravity container | 1 | Example 5 L; known clean history, rated for expected temperature. |
| Thermometer | 1 | Measures the wash-water range clearly. |
| Stable ground platform and collection tray | 1 set | Carries full water mass safely without overhead suspension. |
| Gravity outlet or tubing | 1 | Heat-suitable with no pressure restriction or trapped expansion. |
Preparation and component checks
- Verify material heat rating and clean history.
- Choose wash-only use and safe drainage.
Procedure
- 1
Select a small clean heat-suitable container and check its rating.
- 2
Keep a vent path open and place it on a stable support.
- 3
Fill with a measured volume and record initial temperature.
- 4
Expose the collector to sun while keeping the outlet secure.
- 5
Stir or mix as appropriate and measure the final water temperature.
- 6
Blend to a safe wash temperature and empty and dry the system after use.
Ready-to-use checklist
- The vessel is not pressurized.
- Water temperature is measured before use.
Safety and inspection
Use heat-suitable materials and a thermometer. Do not seal a sun-heated vessel, improvise pressure plumbing, or hang a heavy water bag from an unverified support.
Verify the result
Measure starting and finishing water temperatures and check for leakage before any skin contact.
Measurement log
- Volume, initial/final temperatures and time
- Leaks and vent-path condition
Maintenance and repeat checks
- Drain stagnant water and dry tubing after each use.
- Replace heat-damaged or brittle containers and tubing.
Troubleshooting
- No output, abnormal heat, noise, vibration or leaks
- Stop and isolate first. Check the documented input, load compatibility, alignment and connections; keep guards fitted and refer specialist systems to their installer.