 Thaka.Ai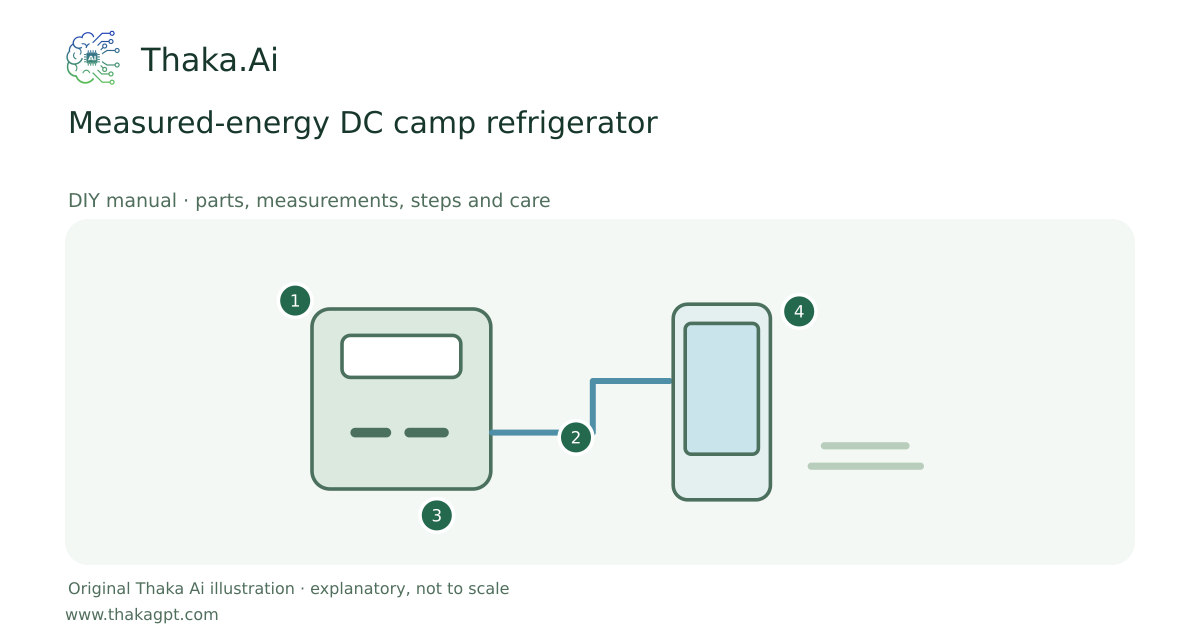
Reviewed 17 October 2026 · schematic not to scale
Use a complete low-voltage compressor refrigerator with a preassembled protected supply. Build a clean secure station rather than modifying its refrigeration circuit.
- 1Intact protected assembled battery
- 2Match port, cable and load requirements
- 3Keep charging dry and within temperature limits
- 4Measure delivered energy and retain reserve
Site and operating requirements
- Measure the purchased components before making a cut template. Mark wet and dry zones, fan guards, drain and accessible stop.
- Use manufacturer-compatible low-voltage equipment and keep the mains power supply outside condensation and spill areas.
Tools and measuring equipment
- DC energy meter and food thermometer
Output and operating conditions
Example measured day: 240 Wh/24 h equals a 10 W average. Two days require 480 Wh delivered; at assumed 80% usable delivery, 600 Wh nominal is needed before reserve.
Original example, not a typical refrigerator claim. Compressor nameplate watts are not the same as daily energy; measure hot-weather cycling.Parts, quantities and dimensions
| Part | Quantity | Specification / dimensions |
|---|---|---|
| Complete DC refrigerator | 1 | Voltage, starting draw and ventilation requirements documented. |
| Protected battery supply | 1 | Capacity sized from a measured 24-hour test. |
| Correct fused DC lead | 1 | Voltage drop, connector and fuse follow equipment instructions. |
| Energy and food thermometers | 1 each | Measures input Wh and food-storage temperature. |
Preparation and component checks
- Confirm DC input, starting power and low-voltage settings.
- Plan backup cold storage for power failure.
Procedure
- 1
Pre-chill the unit and food where possible.
- 2
Install on a stable shaded surface with specified vent clearance.
- 3
Connect the supported fused DC lead to the protected supply.
- 4
Set and verify a food-safe temperature with an independent thermometer.
- 5
Measure a complete hot-weather day with normal openings.
- 6
Size solar and reserve from measured Wh and retest the full trip cycle.
Ready-to-use checklist
- Ventilation is unobstructed.
- Food temperature is verified.
Safety and inspection
Do not block condenser vents or bypass low-voltage protection. Food safety still requires thermometer verification.
Verify the result
Record 24-hour Wh at expected ambient temperature and food load; confirm the coldest and warmest food areas remain suitable.
Measurement log
- Wh/day at actual ambient temperature
- Food temperature and battery reserve
Maintenance and repeat checks
- Clean the interior and external ventilation surfaces without wetting electronics.
- Check connectors, seals and temperature logs before every trip.
Troubleshooting
- No output, abnormal heat, noise, vibration or leaks
- Stop and isolate first. Check the documented input, load compatibility, alignment and connections; keep guards fitted and refer specialist systems to their installer.