 Thaka.Ai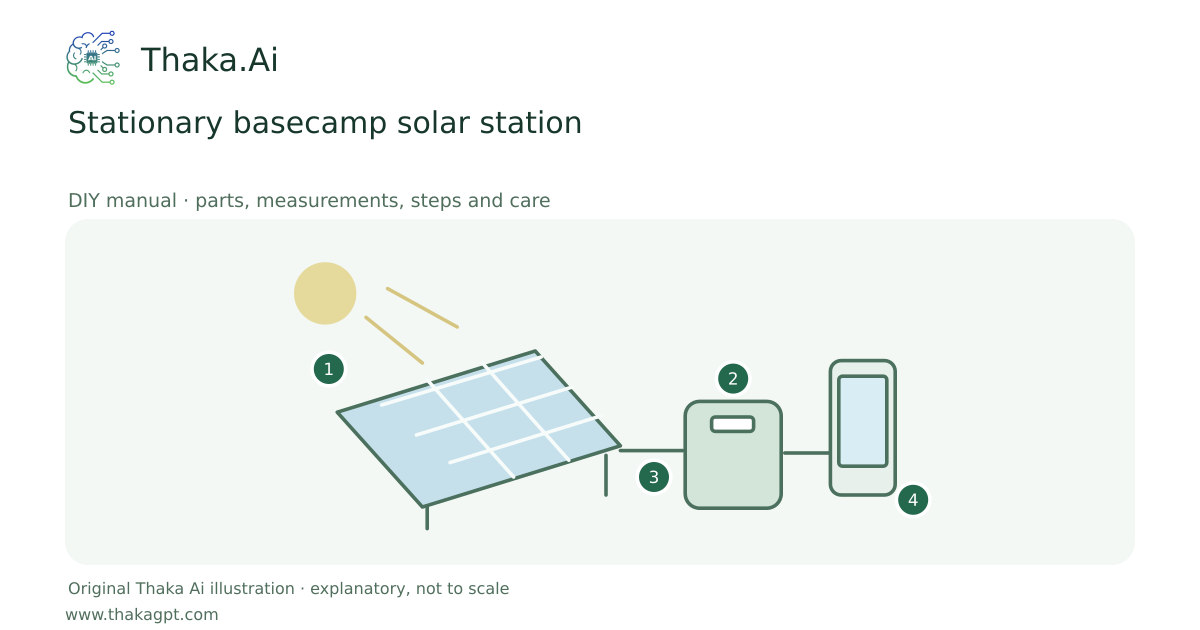
Reviewed 17 October 2026 · schematic not to scale
Use a portable panel and a matched, preassembled storage unit for a multi-day camp. Keep the system entirely separate from building wiring.
- 1Unshaded panel and real sunlight
- 2Matched protected controller and storage
- 3Measure Wh, voltage, current and temperature
- 4Compatible efficient load and reserve
Site and operating requirements
- Record shade, usable area, local weather, cable route and access before selecting equipment.
- Match every electrical input/output and connector to the exact manufacturer datasheet; distinguish W, Wp and Wh.
Tools and measuring equipment
- DC energy meter and correct connector tools if required
Output and operating conditions
Example: 100 W × 4 full-sun-equivalent hours × assumed 0.70 yield = 280 Wh/day. A 40 W average load for 8 h needs 320 Wh, so this example has a deficit.
50–100 W is an illustrative portable-panel range. Daily yield and load arithmetic are planning examples, not tested product promises.Parts, quantities and dimensions
| Part | Quantity | Specification / dimensions |
|---|---|---|
| Portable solar panel | 1 | Example 50–100 W; dimension and support follow its own datasheet. |
| Preassembled storage unit | 1 | Solar controller, battery protection and suitable outputs integrated. |
| Matched input lead | 1 | Correct polarity, voltage and current; weather suitability documented. |
| Panel support and ballast | 1 set | Use the panel-supported stand; secure against wind without stressing cells. |
Preparation and component checks
- Record solar input voltage and polarity.
- Confirm a stable shaded equipment location.
Procedure
- 1
Measure daily demand and size a separate weather reserve.
- 2
Check every solar input limit before making connections.
- 3
Locate the panel in sun and the storage unit in ventilated shade.
- 4
Secure supports and route cables away from walking paths.
- 5
Connect in the sequence specified for the matched equipment.
- 6
Log daily Wh and reduce optional loads whenever recharge falls behind demand.
Ready-to-use checklist
- No connection to household sockets or wiring.
- The daily energy balance is understood.
Safety and inspection
Match maximum open-circuit voltage, polarity, current and connector type; do not add series panels without checking cold-weather voltage.
Verify the result
Record a full day of solar input and overnight output; compare the battery charge level at the same time on consecutive days.
Measurement log
- Daily input/output Wh
- Reserve remaining after one sunless day
Maintenance and repeat checks
- Inspect connectors and supports after wind, rain or vehicle movement.
- Clean the panel and keep storage vents unobstructed.
Troubleshooting
- No output, abnormal heat, noise, vibration or leaks
- Stop and isolate first. Check the documented input, load compatibility, alignment and connections; keep guards fitted and refer specialist systems to their installer.