 Thaka.Ai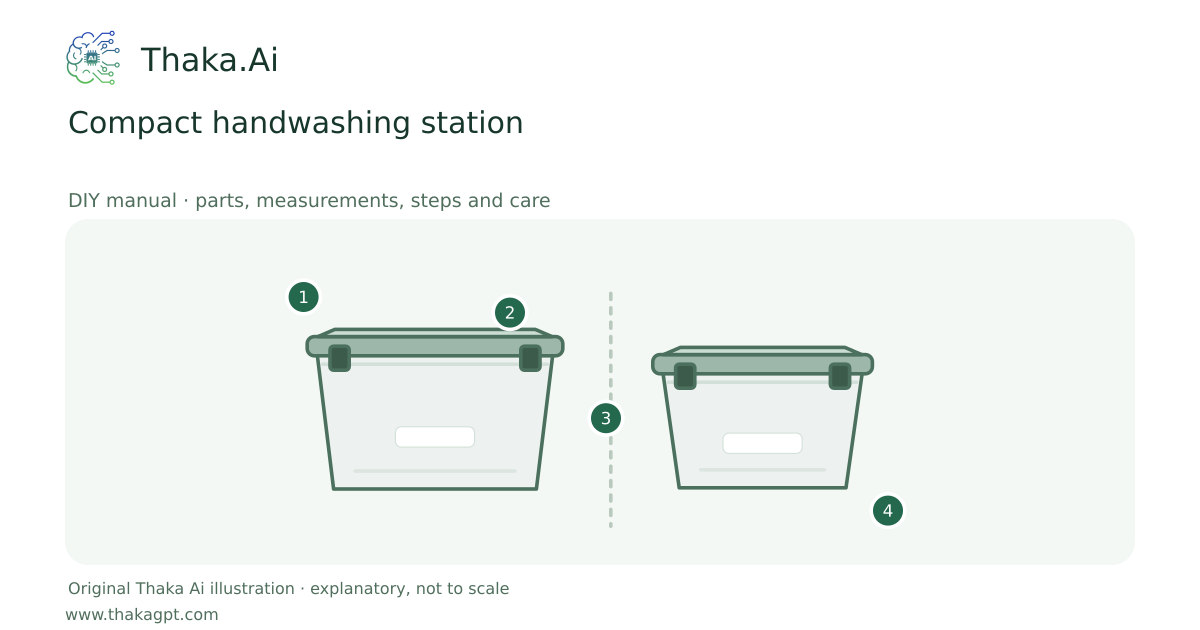
Reviewed 17 October 2026 · schematic not to scale
Make a simple handwashing point with a closed rectangular water container, controlled tap and wastewater capture.
- 1Known suitable water or dry supplies
- 2Clean compatible container and fitted cover
- 3Separate clean and dirty handling paths
- 4Inspect, label and renew as required
Site and operating requirements
- Identify intended use and likely biological, chemical and salt contamination before choosing treatment. Obtain suitable water testing.
- Keep raw-water and treated-water containers, tools and hands separate. Use clean covered storage.
Tools and measuring equipment
- Volume jug and cleaning cloth
- Tap-fitting tool only if required by the vessel
Output and operating conditions
A 5 L vessel is a practical small-station benchmark. Wash with soap for at least 20 seconds; required refill frequency depends on users.
Original tap-and-catch-box layout based on public handwashing principles, rather than a copied branded dispenser.Parts, quantities and dimensions
| Part | Quantity | Specification / dimensions |
|---|---|---|
| Closed rectangular water container | 1 | Example 5 L dedicated clean-water vessel with a fitted tap; place on a low rated support. |
| Soap and clean drying supplies | 1 set | Liquid soap or a draining soap holder; disposable towel or personal clean towel. |
| Plastic wastewater box | 1 | Capacity at least the usable water supply; example 10 L with a removable cover during use. |
Preparation and component checks
- Use a ready-made leakproof vessel instead of drilling a pressure container.
- Confirm an approved wastewater disposal point.
Procedure
- 1
Select a level site near the preparation area but away from water collection and food-contact surfaces.
- 2
Wash and rinse the vessel, tap and catch box; fill with clean suitable water.
- 3
Set the vessel on its rated support and place the catch box below the tap.
- 4
Open the tap briefly to confirm controlled flow and complete capture without splashing.
- 5
Wet hands, apply soap, rub every surface for at least 20 seconds, rinse and dry cleanly.
- 6
Close the tap, cover stored supplies and empty captured water only at an approved disposal point.
Ready-to-use checklist
- No wobble, leakage or unsafe lift.
- Soap, clean water and drying method are present.
Safety and inspection
Handwashing water and wastewater are not automatically drinking water. Collect greywater and dispose of it under local campsite rules; do not empty beside streams.
Verify the result
Station must be stable when full, reach all users and drain into the catch box without pooling on paths.
Measurement log
- Refill and cleaning times.
- Water use and wastewater volume.
Maintenance and repeat checks
- Refill clean water and soap before they run out; clean touched tap surfaces daily.
- Wash and dry both plastic containers after camp and inspect tap seals.
Troubleshooting
- Flow/cycle outside the documented range or failed test
- Do not use the output for drinking. Recheck raw-water quality, batch volume, seals/media/device status and the complete source instructions. Retest after correction.