 Thaka.Ai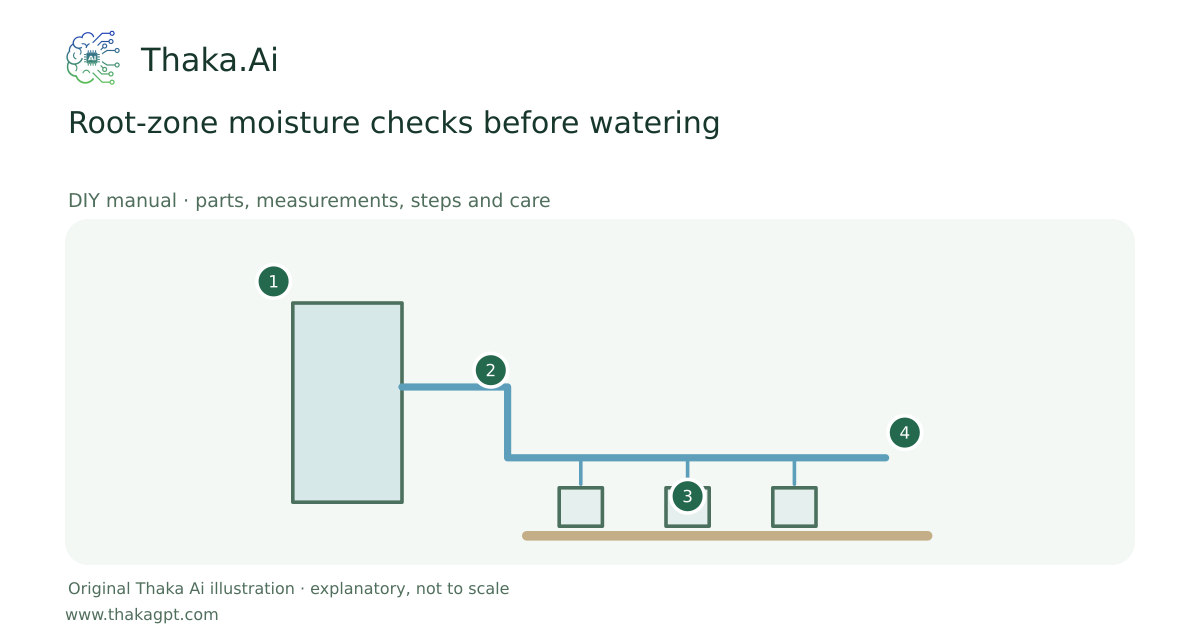
Reviewed 17 October 2026 · schematic not to scale
Replace calendar-only watering with repeatable soil observations at representative root-zone depths.
- 1Measured clean source and correct pressure
- 2Matched distribution and root-zone delivery
- 3Collect measurements and check soil moisture
- 4Adjust schedule from the measured result
Site and operating requirements
- Identify crop, season, water quality, soil/medium and local heat. Measure materials before cutting and confirm support and drainage.
Tools and measuring equipment
- Marked probe or trowel and gloves
- Notebook or phone form
Output and operating conditions
Record soil texture, depth and moisture at the same locations. No universal squeeze test or sensor number fits every soil.
The feel-and-appearance method is established irrigation practice. Example 100 and 200 mm garden sampling depths must be adapted to crop roots.Parts, quantities and dimensions
| Part | Quantity | Specification / dimensions |
|---|---|---|
| Narrow trowel or soil probe | 1 | Choose a tool allowing a small sample with minimal root disturbance; mark depth in mm. |
| Labelled sampling tray | 1 | Separate locations and depths; use a clean plastic tray, not food utensils afterwards. |
| Moisture log and optional sensor | 1 set | Keep soil-specific observations; install any sensor at the actual root depth as instructed. |
Preparation and component checks
- Identify soil texture and crop rooting depth first.
- Check for underground lines and protect young roots.
Procedure
- 1
Identify the crop root zone, soil texture and representative wet and dry areas.
- 2
Mark two or more repeat sampling positions clear of the stem and underground lines.
- 3
Before watering, take small samples at appropriate depths and record moisture, colour and feel.
- 4
Interpret samples using the correct soil-texture chart; sand and clay behave differently.
- 5
Water only as justified, then sample after infiltration to check wetting depth and drainage.
- 6
Adjust the next irrigation interval from the recorded drying pattern, weather and plant response.
Ready-to-use checklist
- Sampling positions are repeatable and labelled.
- Watering decision uses root-zone evidence.
Safety and inspection
Locate buried services and avoid root damage. Do not postpone watering a vulnerable seedling merely because deeper soil is damp. Cheap probes need calibration.
Verify the result
Compare observations before and after watering and with crop condition; verify that water reaches roots without persistent saturation.
Measurement log
- Depth, texture, feel, weather and last watering.
- Wetting depth after watering and subsequent drying.
Maintenance and repeat checks
- Check often during establishment, hot winds or changing weather; reduce unnecessary sampling damage.
- Clean tools and compare sensor readings with hand observations periodically.
Troubleshooting
- Unexpected decline, pests, odour, poor growth or animal distress
- Pause the affected activity, separate suspect material and check the guide’s moisture, heat, hygiene, drainage and care requirements. Get a qualified diagnosis before treatment or reuse.