 Thaka.Ai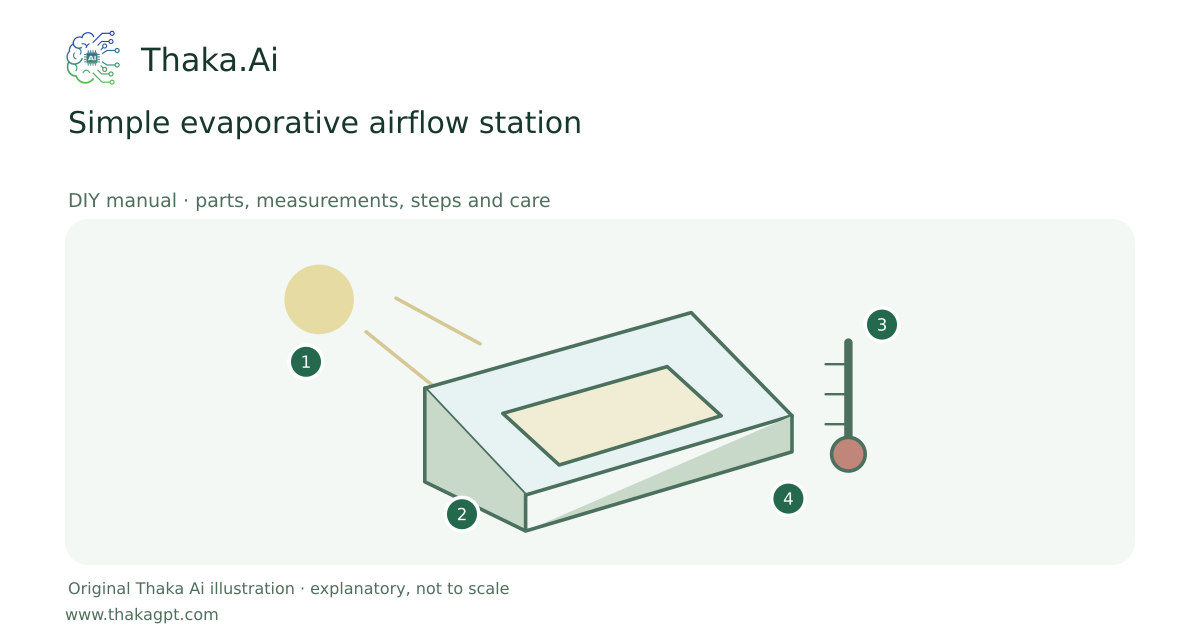
Reviewed 17 October 2026 · schematic not to scale
A guarded low-voltage fan draws dry outside air through a clean damp pad. Use only in an open ventilated setting; humid coastal weather may make it ineffective.
- 1Measured sunlight or other heat input
- 2Purpose-suitable collector or insulated vessel
- 3Temperature, time and handling checks
- 4Measured useful heat; source-specific limits
Site and operating requirements
- Measure the purchased components before making a cut template. Mark wet and dry zones, fan guards, drain and accessible stop.
- Use manufacturer-compatible low-voltage equipment and keep the mains power supply outside condensation and spill areas.
Tools and measuring equipment
- Thermometer/hygrometer, ruler and suitable fasteners
Output and operating conditions
Measure inlet/outlet temperature and humidity. No universal degree reduction or water-consumption figure applies to a miniature build.
Published evaporative-cooling principles support dry-air operation and the need to exhaust moist air. This is a small original test arrangement.Parts, quantities and dimensions
| Part | Quantity | Specification / dimensions |
|---|---|---|
| Clean shallow plastic box | 1 | Example 5–10 L catch box; no airtight seal while operating. |
| Washable evaporative pad | 1 | Supported vertically without loose fibers in the airflow. |
| Guarded low-voltage fan | 1 | Stable dry mounting above the wet section. |
| Temperature/humidity meter | 1 | Measures both upstream and downstream air. |
Preparation and component checks
- Verify low-voltage equipment and dry mounting.
- Measure ambient humidity first.
Procedure
- 1
Confirm dry weather and continuous fresh-air ventilation.
- 2
Set the shallow clean box on level ground.
- 3
Support the pad so drips return to the box.
- 4
Mount the low-voltage fan entirely dry and above the wet zone.
- 5
Dampen the pad with clean water and compare temperature and humidity.
- 6
Use only if the measured result is useful; empty and dry after each session.
Ready-to-use checklist
- No electrical part can be splashed or flooded.
- Fresh air prevents moisture accumulation.
Safety and inspection
Keep the fan and connectors above all possible water levels; use no mains electricity beside the wet section. Do not treat this as air conditioning or heat-emergency protection.
Verify the result
Compare dry-pad and damp-pad readings; stop if humidity rises without useful cooling or water reaches electrical components.
Measurement log
- Dry/damp inlet and outlet measurements
- Water used and cleaning time
Maintenance and repeat checks
- Use fresh clean water, clean the pad and empty standing water daily.
- Inspect for slime, odor, damaged insulation and any wet connector.
Troubleshooting
- No output, abnormal heat, noise, vibration or leaks
- Stop and isolate first. Check the documented input, load compatibility, alignment and connections; keep guards fitted and refer specialist systems to their installer.