 Thaka.Ai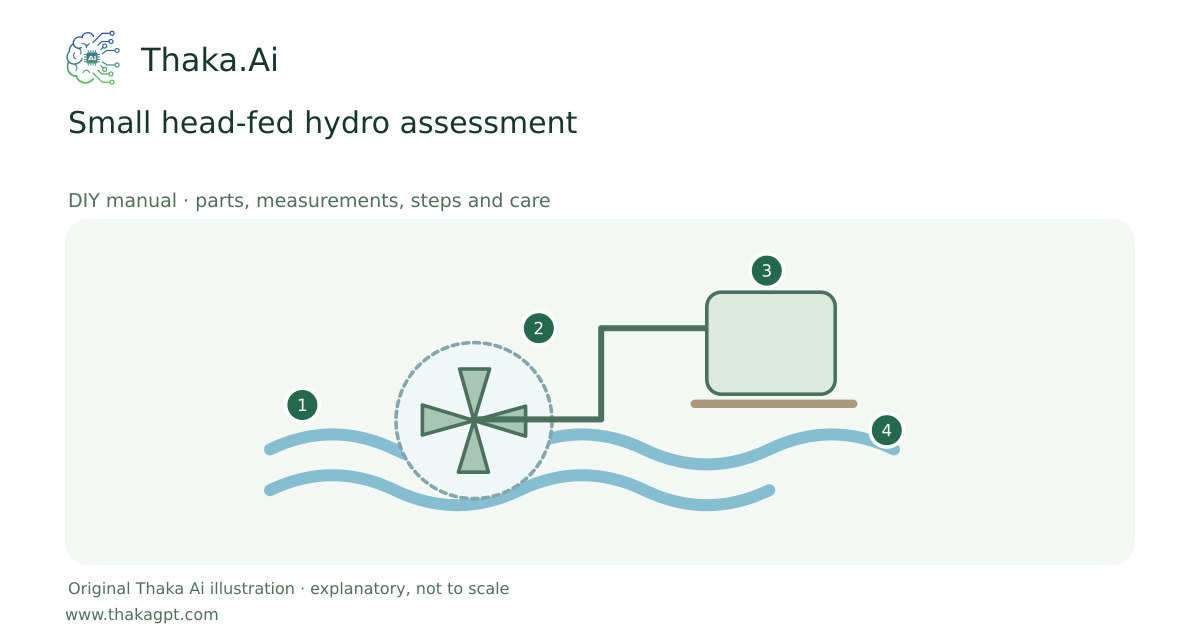
Reviewed 17 October 2026 · schematic not to scale
At a permitted long-stay site, assess natural water flow and vertical drop before considering an intake, pressure-rated pipe and matched turbine. This is a specialist design route.
- 1Measure permitted safe flow and site conditions
- 2Guarded matched water device
- 3Dry control and protected low-voltage storage
- 4Measure loaded output and safe retrieval
Site and operating requirements
- Survey net head, usable seasonal flow, flood level, debris and legal access. Select a design for that measured resource.
- Obtain complete shaft, bearing, mounting, guard and electrical drawings. A photograph is not a tolerance or load specification.
Tools and measuring equipment
- Level or calibrated pressure gauge, flow survey tools and energy logger
Output and operating conditions
Example: 1 L/s at 5 m net head with assumed overall efficiency 0.50 gives about 24.5 W, or 588 Wh over 24 hours if flow truly remains available.
Original calculation P = water density × gravity × flow × net head × efficiency. Net head subtracts pipe losses; environmental flow is not automatically available for diversion.Parts, quantities and dimensions
| Part | Quantity | Specification / dimensions |
|---|---|---|
| Head and flow survey kit | 1 | Level/pressure survey and measured flow method suitable for the site. |
| Designed intake and pressure-rated pipe | 1 system | Chosen by site flow, pressure, length, losses and environmental requirements. |
| Matched turbine and controller | 1 set | Designed for measured net head and permitted flow. |
| Protected battery and wiring | 1 set | Correct voltage, isolation, protection and diversion control. |
Preparation and component checks
- Confirm access and minimum environmental flow.
- Reject flood-prone or unstable access routes.
Procedure
- 1
Confirm water rights and environmental permission.
- 2
Measure natural head and low-season flow safely.
- 3
Calculate net head after realistic pipe losses.
- 4
Have a specialist size the intake, pipe, turbine and control equipment.
- 5
Commission under controlled conditions with pressure and electrical checks.
- 6
Log actual delivered energy and maintain required environmental flow.
Ready-to-use checklist
- Specialist design is complete.
- No improvised pressure component.
Safety and inspection
Pressure, intakes, flood exposure and water rights require competent review. Do not make dams, pressure chambers or printed pressure fittings for this guide.
Verify the result
Measure low-season flow and net head, verify the design with a specialist and log energy only after controlled commissioning.
Measurement log
- Net head, permitted flow and actual Wh
- Pressure and maintenance inspections
Maintenance and repeat checks
- Inspect intake screens without entering dangerous water.
- Follow the approved shutdown procedure before floods, freezing or maintenance.
Troubleshooting
- No output, abnormal heat, noise, vibration or leaks
- Stop and isolate first. Check the documented input, load compatibility, alignment and connections; keep guards fitted and refer specialist systems to their installer.