 Thaka.Ai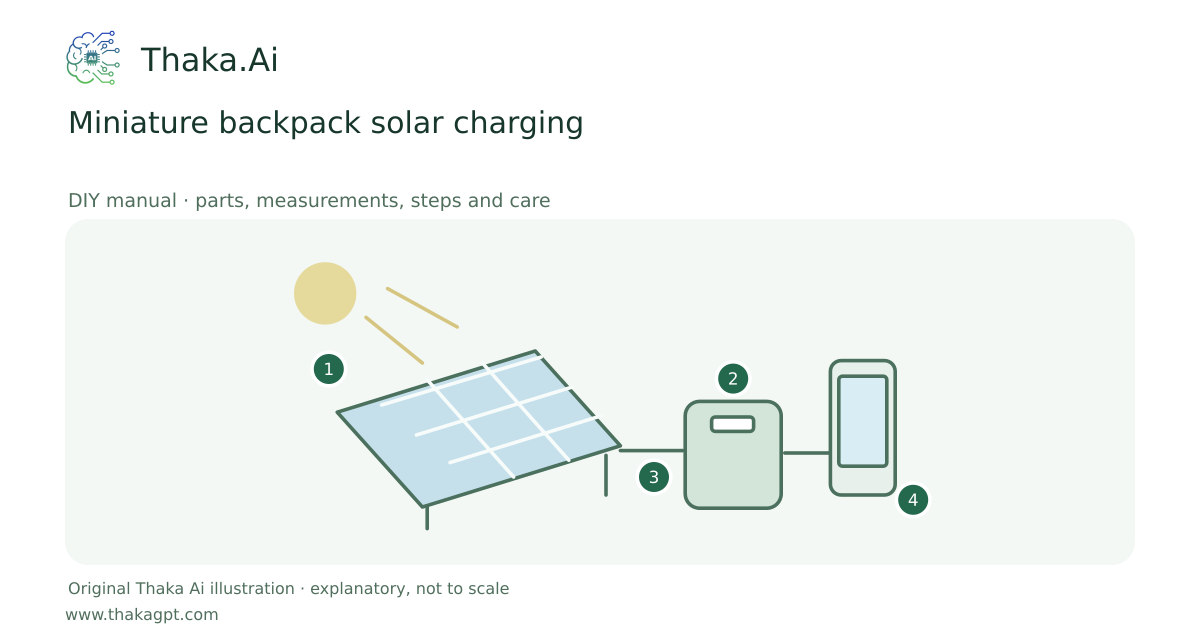
Reviewed 17 October 2026 · schematic not to scale
A folding low-voltage panel replenishes a protected power bank during stationary daylight stops. This is a charging kit, not a home-built battery.
- 1Unshaded panel and real sunlight
- 2Matched protected controller and storage
- 3Measure Wh, voltage, current and temperature
- 4Compatible efficient load and reserve
Site and operating requirements
- Record shade, usable area, local weather, cable route and access before selecting equipment.
- Match every electrical input/output and connector to the exact manufacturer datasheet; distinguish W, Wp and Wh.
Tools and measuring equipment
- USB meter and soft cleaning cloth
Output and operating conditions
Illustrative selection: 20 W × 4 equivalent full-sun hours × assumed 0.65 total yield = 52 Wh/day. Terrain, dust, clouds and charging limits can make actual harvest much smaller.
10–20 W is an example shopping range, not a published universal minimum. Use measured trip demand and local sunlight.Parts, quantities and dimensions
| Part | Quantity | Specification / dimensions |
|---|---|---|
| Folding regulated panel | 1 | Example 10–20 W; output protocol must match the power bank. |
| Protected power bank | 1 | Preassembled pack with Wh label and documented input limits. |
| Rated short cable | 1 | Correct connectors and current rating; avoid improvised adapters. |
| Non-damaging straps | 2–4 | Use existing panel eyelets and follow panel support instructions. |
Preparation and component checks
- Inspect both input and output labels.
- Check weather and charging-temperature limits.
Procedure
- 1
Calculate trip Wh and retain an independent emergency reserve.
- 2
Match panel output, cable and bank input specifications.
- 3
Open the panel on a stable surface with no shaded cells.
- 4
Aim it toward direct sunlight; stationary use is easier to control than walking with it.
- 5
Put the connected bank in a ventilated shaded location.
- 6
Check charging restart, connector temperature and harvested Wh before relying on the kit.
Ready-to-use checklist
- All cells receive direct sun.
- The battery remains shaded and accessible.
Safety and inspection
Leave the battery shaded, dry and within its stated charging temperature. Do not put it under the hot panel or in a sealed sunlit pouch.
Verify the result
Measure Wh collected during a typical four-hour stop; repeat after a cloud interruption to confirm automatic restart.
Measurement log
- Collected Wh, sun hours and shade events
- Bank temperature and charging restart
Maintenance and repeat checks
- Remove dust with the panel-approved cleaning method and inspect folding joints.
- Dry connectors before packing; inspect straps and cable insulation after rough transport.
Troubleshooting
- No output, abnormal heat, noise, vibration or leaks
- Stop and isolate first. Check the documented input, load compatibility, alignment and connections; keep guards fitted and refer specialist systems to their installer.