 Thaka.Ai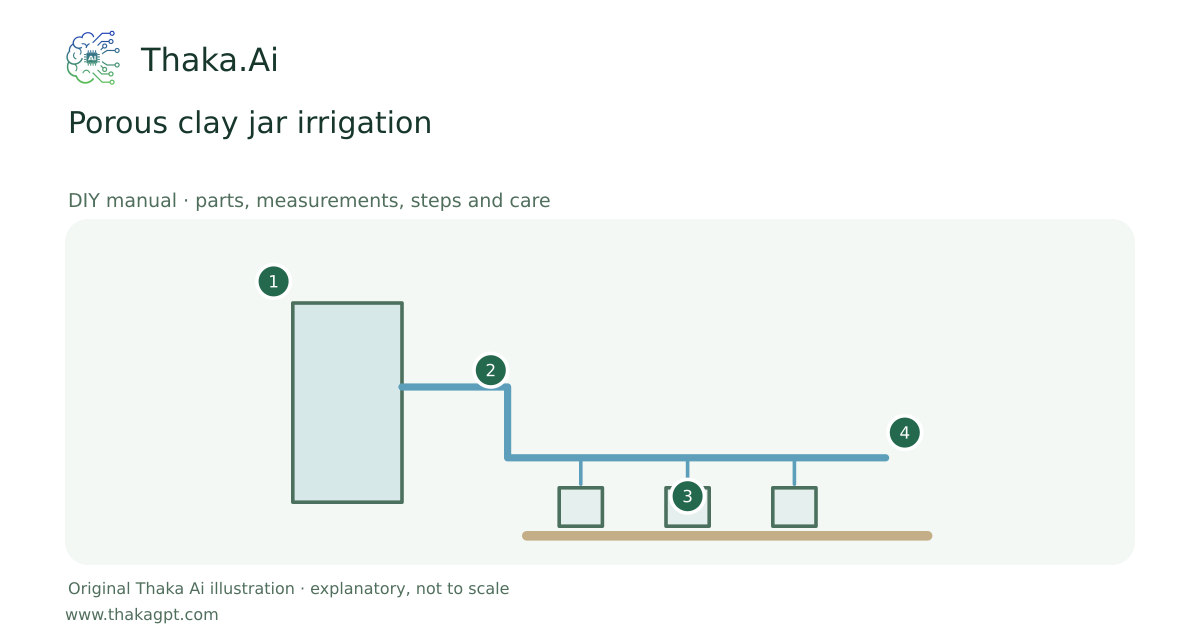
Reviewed 17 October 2026 · schematic not to scale
Use a traditional unglazed porous clay vessel to seep irrigation water into nearby soil.
- 1Measured clean source and correct pressure
- 2Matched distribution and root-zone delivery
- 3Collect measurements and check soil moisture
- 4Adjust schedule from the measured result
Site and operating requirements
- Identify crop, season, water quality, soil/medium and local heat. Measure materials before cutting and confirm support and drainage.
Tools and measuring equipment
- Trowel, measuring jug and notebook
- Soft brush and gloves
Output and operating conditions
Choose jar size and spacing from an observed wetting trial. A 5 L vessel is a trial example, not a universal daily supply.
Established irrigation principle used in arid regions. Flow depends on clay permeability, soil, roots and water quality.Parts, quantities and dimensions
| Part | Quantity | Specification / dimensions |
|---|---|---|
| Unglazed porous clay jar | 1 trial unit | Example 5 L; intact, no toxic coating, tested for slow seepage rather than rapid leakage. |
| Close-fitting removable lid | 1 | Keep soil, insects and animals out; do not create a trip hazard. |
| Watering jug and mulch | as measured | Use suitable irrigation water; keep the jar neck visible and mulch clear of plant stems. |
Preparation and component checks
- Confirm unglazed permeability and safe prior use.
- Mark buried lines and keep a backup irrigation method.
Procedure
- 1
Check crop water needs, water salinity and the soil; start with one small trial, not a whole field.
- 2
Fill the jar above ground and inspect cracks, rate of seepage and lid fit.
- 3
Dig a close-fitting hole near the intended root zone without damaging roots or utilities.
- 4
Set the vessel so the neck remains a few centimetres above soil and firm moist soil against its sides.
- 5
Fill and cover, irrigate new seedlings initially as needed, then inspect the actual wetting pattern.
- 6
Record refill volume and root-zone moisture; adjust jar spacing or add ordinary surface irrigation if coverage is inadequate.
Ready-to-use checklist
- Lid secured and neck visible.
- Roots receive moisture across the intended area.
Safety and inspection
Do not dig through established tree roots or buried services. Saline water can build up salts; use soil/water assessment before scaling. No acid or pesticide cleaning recipe is provided.
Verify the result
Confirm seepage and root-zone moisture over several days; the surface looking dry does not prove root-zone dryness.
Measurement log
- Jar volume, refills and moisture observations.
- Water source, salinity assessment and crop response.
Maintenance and repeat checks
- Check lids, cracks and soil moisture daily during the first trial and hot spells.
- Remove sediment with water and a soft brush; replace cracked or persistently blocked vessels.
Troubleshooting
- Unexpected decline, pests, odour, poor growth or animal distress
- Pause the affected activity, separate suspect material and check the guide’s moisture, heat, hygiene, drainage and care requirements. Get a qualified diagnosis before treatment or reuse.