 Thaka.Ai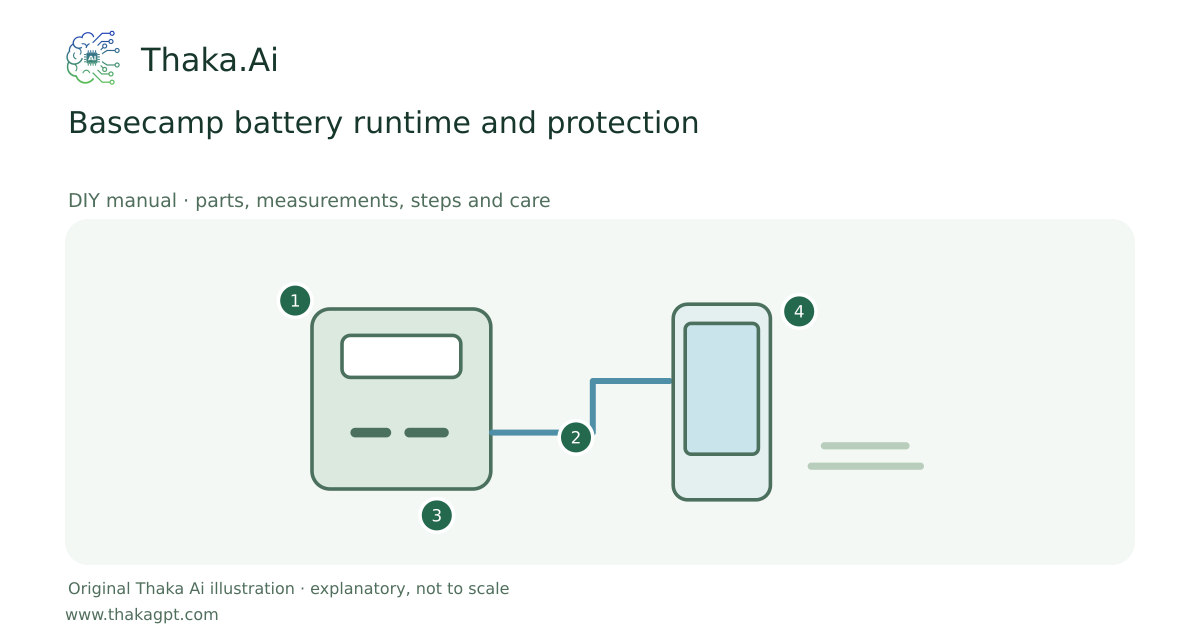
Reviewed 17 October 2026 · schematic not to scale
Use a preassembled storage unit with battery management and the correct output ports. This guide covers selection and operation, not battery-cell fabrication.
- 1Intact protected assembled battery
- 2Match port, cable and load requirements
- 3Keep charging dry and within temperature limits
- 4Measure delivered energy and retain reserve
Site and operating requirements
- Identify the external energy input and the maximum permitted rotor, bearing and spring limits from the selected kit.
- Use a stable dry bench, guards and a clear stop procedure. Do not increase speed to chase a voltage reading.
Tools and measuring equipment
- Energy meter and load inventory
Output and operating conditions
Example: 256 Wh nominal × assumed usable fraction 0.80 ÷ 20 W average load = 10.24 h. Any inverter standby draw reduces that runtime.
Original planning arithmetic. Use measured usable output and the exact model temperature, power and surge limits.Parts, quantities and dimensions
| Part | Quantity | Specification / dimensions |
|---|---|---|
| Preassembled battery unit | 1 | Documented battery management, usable output, power and temperature limits. |
| Matched load leads | 1 set | Rated for each output, including required fuse protection. |
| Shaded ventilated platform | 1 | Stable, dry and away from blocked fan vents. |
Preparation and component checks
- Check peak output and temperature limits.
- Plan an accessible dry location.
Procedure
- 1
Measure daily Wh and maximum simultaneous watts.
- 2
Check normal and startup requirements against output limits.
- 3
Choose direct DC outputs where compatible instead of unnecessary conversions.
- 4
Charge using the supported input equipment.
- 5
Operate in dry shade with all ventilation clear.
- 6
Test a full operating cycle and preserve the selected emergency reserve.
Ready-to-use checklist
- Protection and ventilation remain intact.
- The planned load cycle passes.
Safety and inspection
A large Wh rating does not prove adequate peak watts. Never bypass protection, open the pack or place it in an unventilated hot enclosure.
Verify the result
Run the intended load for the planned duration with the exact ports and monitor remaining charge and temperature.
Measurement log
- Delivered Wh and real runtime
- Standby draw and temperature
Maintenance and repeat checks
- Inspect the case and leads after transport; stop using damaged equipment.
- Follow storage charge guidance and check the pack periodically during long storage.
Troubleshooting
- No output, abnormal heat, noise, vibration or leaks
- Stop and isolate first. Check the documented input, load compatibility, alignment and connections; keep guards fitted and refer specialist systems to their installer.