 Thaka.Ai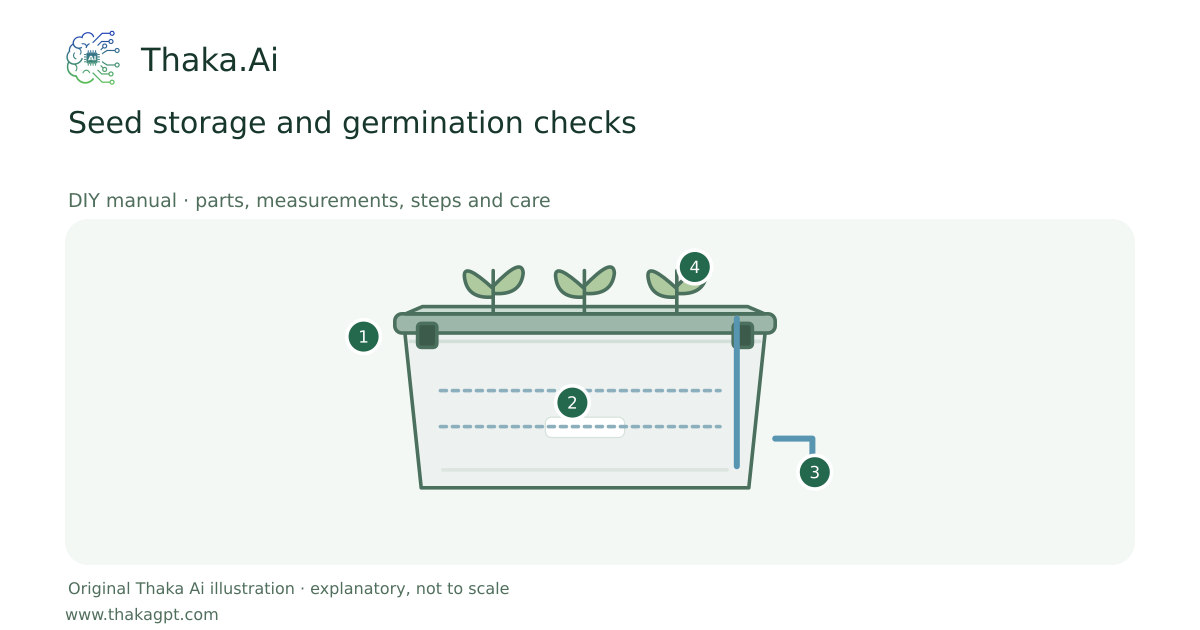
Reviewed 17 October 2026 · schematic not to scale
Keep suitable vegetable seeds dry, labelled and cool, then test a small batch before sowing a full bed.
- 1Measured clean plastic storage box
- 2Supported divider and compatible growing medium
- 3Separate fill and overflow below the support deck
- 4Monitor water, roots and wet load
Site and operating requirements
- Identify crop, season, water quality, soil/medium and local heat. Measure materials before cutting and confirm support and drainage.
Tools and measuring equipment
- Labels, marker and germination log
- Thermometer and small measuring cup
Output and operating conditions
A 10-seed check gives a coarse percentage: germinated seeds ×10. Eight out of ten is 80%, not a laboratory certificate.
Dry orthodox vegetable seeds only. Some species need special dormancy treatment or cannot tolerate drying; follow crop-specific guidance.Parts, quantities and dimensions
| Part | Quantity | Specification / dimensions |
|---|---|---|
| Clean sealed plastic storage box | 1 | Small dry box with labelled paper seed envelopes and separated desiccant; cool storage around 0–5°C suits many vegetable seeds. |
| Paper towel and clean test container | 1 per lot | A damp, not dripping, towel inside a sealable plastic test box. |
| Seed sample, labels and marker | 10 per test | Use a representative sample and note species, cultivar, lot and harvest or purchase date. |
Preparation and component checks
- Keep chemical-treated seed visibly separate.
- Read species-specific dormancy and temperature requirements.
Procedure
- 1
Keep seeds from healthy plants or reliable lots and identify whether drying and cold storage suit the species.
- 2
Dry suitable seeds fully according to crop guidance and place labelled envelopes in a sealed dry box.
- 3
Store cool and stable; let a chilled closed box warm before opening to reduce condensation.
- 4
For testing, spread ten seeds on a damp towel, fold it and place in the labelled test box.
- 5
Hold at the crop’s germination temperature, check moisture and record new germination until the specified interval ends.
- 6
Calculate the result, compare lots and obtain fresher seed if performance is too poor for the intended planting.
Ready-to-use checklist
- No condensation or unidentified seed in storage.
- Planting quantity uses the measured coarse germination result.
Safety and inspection
Keep treated seed away from food, children, livestock and birds. Do not eat germination-test sprouts. Hybrid seed may not reproduce the parent traits.
Verify the result
Use the seed packet’s temperature and test duration. A 10-seed sample is a planning check and can miss lot variation.
Measurement log
- Lot identity, storage dates and conditions.
- Test count, days, temperature and percentage.
Maintenance and repeat checks
- Inspect stored lots for condensation, insects and damaged seals; replace desiccant as directed.
- Test again before a valuable sowing and keep lot histories separate.
Troubleshooting
- Unexpected decline, pests, odour, poor growth or animal distress
- Pause the affected activity, separate suspect material and check the guide’s moisture, heat, hygiene, drainage and care requirements. Get a qualified diagnosis before treatment or reuse.