 Thaka.Ai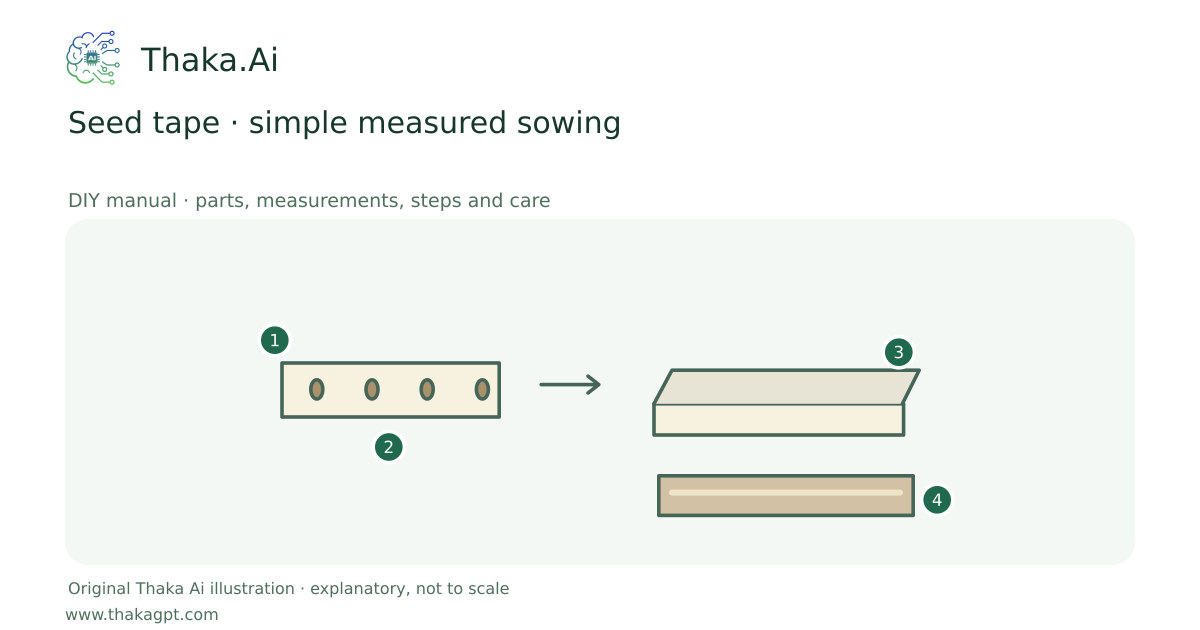
Reviewed 17 October 2026 · schematic not to scale
Make flat biodegradable seed tape for orderly sowing. The paper-rope clip becomes an easy-to-check flat-tape method with packet-defined spacing.
- 1Plain tissue strips; packet-selected seeds
- 2Small flour-paste dots at packet spacing
- 3Fold, label and dry completely
- 4Plant at the packet depth and keep evenly moist
Site and operating requirements
- Identify crop, season, water quality, soil/medium and local heat. Measure materials before cutting and confirm support and drainage.
Tools and measuring equipment
- Scissors, ruler, pencil, toothpick, tablespoon measure and clean drying surface.
Output and operating conditions
Labelled dry seed strips, then a crop row at the seed packet’s depth and spacing. Germination depends on seed quality and conditions.
K-State gives a tissue-strip example about 51 × 305 mm. UGA uses a paste of 2 tablespoons flour and 1 tablespoon water; dry completely, about 2 hours. Seed spacing and sowing depth come from the actual crop packet.Parts, quantities and dimensions
| Part | Quantity | Specification / dimensions |
|---|---|---|
| Plain single-ply tissue | as needed | Cut example strips 51 × 305 mm; no plastic-coated or scented paper. Adjust length for handling. |
| Seeds and packet | 1 set | Use fresh identified seed; mark packet spacing on a ruler. Do not assume the same spacing for carrots, radish and lettuce. |
| Flour paste and labelling tools | 1 set | Small batch: 2 tbsp flour + 1 tbsp water; toothpick, pencil, ruler, scissors and a clean drying surface. |
Preparation and component checks
- Check seed identity and packet instructions; keep each variety separate.
Procedure
- 1
Read the crop packet for season, spacing and depth, then label every strip with crop, variety and date.
- 2
Cut tissue strips and pencil the seed positions at the actual packet spacing.
- 3
Mix the small flour paste and place a tiny dot at each mark; add one seed to each dot.
- 4
Fold the paper lightly around the seeds and let it dry completely on a flat surface; do not store damp tape.
- 5
Store labelled dry strips in a cool dry place, protected from pests, until the suitable planting date.
- 6
Prepare a smooth moist bed, lay tape in the row, cover to the packet depth and water gently without washing it away.
- 7
Maintain even moisture and inspect emergence. Thin only if needed for the chosen crop; record actual germination.
Ready-to-use checklist
- Every strip is labelled, completely dry, spaced and planted according to its own crop packet.
- Resolve any missing critical material, support or operating specification before starting.
Safety and inspection
Keep treated seeds and flour paste away from children and animals. Tape does not replace correct season, temperature, irrigation or seed viability.
Verify the result
Every strip is labelled, completely dry, spaced and planted according to its own crop packet.
Measurement log
- Date, actual dimensions/working volume, product labels, readings, actions and results. Keep before-and-after photographs.
Maintenance and repeat checks
- Check seedbed moisture daily in warm conditions. Use gentle irrigation and protect against drying or flooding.
- Discard mouldy stored tape; make a small germination trial before preparing long rows.
Troubleshooting
- Unexpected decline, pests, odour, poor growth or animal distress
- Pause the affected activity, separate suspect material and check the guide’s moisture, heat, hygiene, drainage and care requirements. Get a qualified diagnosis before treatment or reuse.