 Thaka.Ai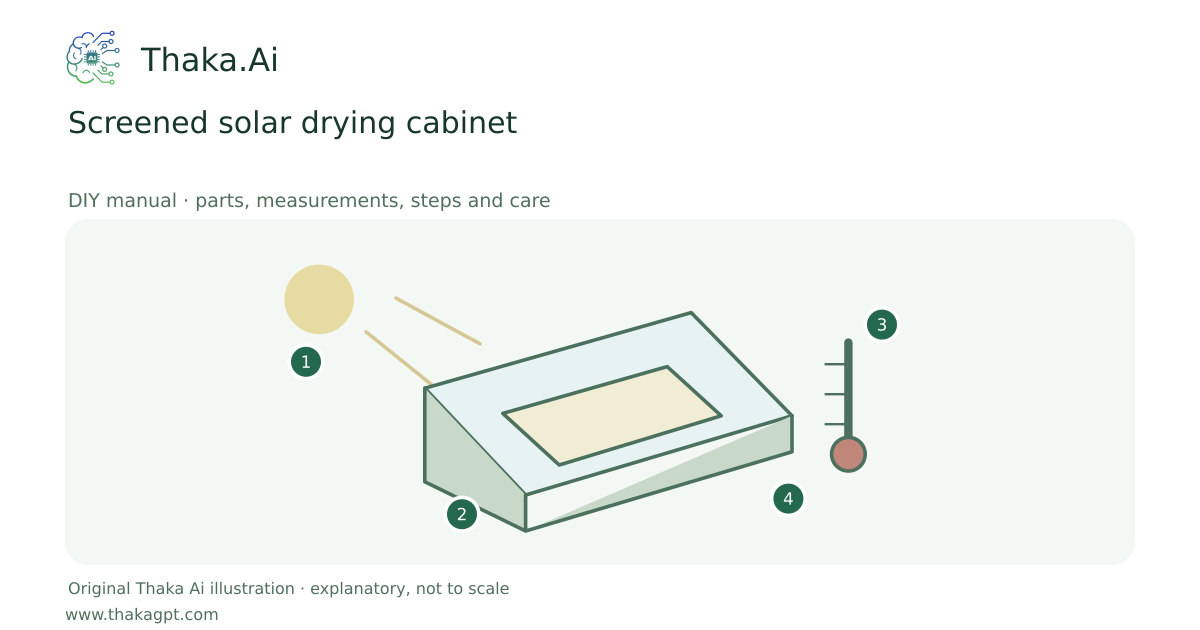
Reviewed 17 October 2026 · schematic not to scale
Use a screened natural-airflow drying cabinet for suitable produce or nonfood botanical materials. Food preservation requires a validated crop-specific process.
- 1Measured sunlight or other heat input
- 2Purpose-suitable collector or insulated vessel
- 3Temperature, time and handling checks
- 4Measured useful heat; source-specific limits
Site and operating requirements
- Measure heat demand and site exposure. Separate an educational solar-heating experiment from a pressurised domestic hot-water installation.
- Check materials, temperature limits, stability and burn protection before introducing heat.
Tools and measuring equipment
- Measuring tools, cutting tools and thermometers
Output and operating conditions
Drying rate depends on crop thickness, humidity, airflow and temperature. Do not infer shelf stability from dry appearance alone.
Published screened solar-dryer construction and food-drying guidance underpin the method. Exact tray sizes are selected from the load, not invented as a tested design.Parts, quantities and dimensions
| Part | Quantity | Specification / dimensions |
|---|---|---|
| Ventilated drying cabinet | 1 | Stable heat-compatible body with screened intake and exhaust. |
| Food-safe drying trays | 2–4 | Removable washable trays; spacing preserves airflow. |
| Solar air collector | 1 | Hot air path separated from unsuitable coatings or treated timber. |
| Thermometer and sealed storage | 1 set | Checks cabinet air and stores the correctly dried product. |
Preparation and component checks
- Choose food-safe tray and chamber materials.
- Identify crop-specific preservation requirements.
Procedure
- 1
Select one produce type and read its validated drying process.
- 2
Size removable trays for a thin uniform layer.
- 3
Build the screened cabinet and solar air route.
- 4
Test airflow and tray temperatures before loading food.
- 5
Prepare and dry the crop with its specific pretreatment and endpoint checks.
- 6
Condition and package correctly; reject moldy or inadequately dried material.
Ready-to-use checklist
- Screens and airflow are complete.
- A suitable preservation process is available for the chosen crop.
Safety and inspection
Do not use this as a raw meat or poultry jerky recipe. Prevent insects, dust and non-food-safe mesh from contacting food.
Verify the result
Log air temperatures at several trays and use the crop-specific dryness, conditioning and storage checks.
Measurement log
- Tray temperatures, weather and drying endpoint
- Cleaning and batch identification
Maintenance and repeat checks
- Wash and fully dry trays after each batch.
- Repair torn screens and inspect cabinet cleanliness before use.
Troubleshooting
- No output, abnormal heat, noise, vibration or leaks
- Stop and isolate first. Check the documented input, load compatibility, alignment and connections; keep guards fitted and refer specialist systems to their installer.