 Thaka.Ai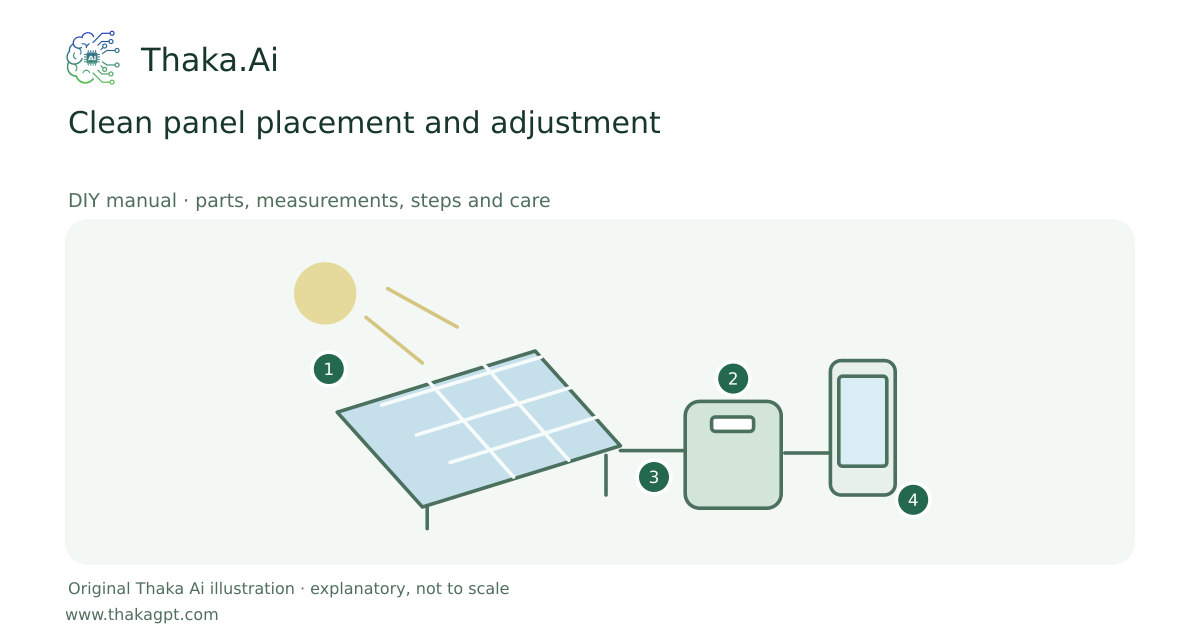
Reviewed 17 October 2026 · schematic not to scale
Improve an existing solar kit with careful positioning, ventilation and repeated measurements instead of adding hardware immediately.
- 1Unshaded panel and real sunlight
- 2Matched protected controller and storage
- 3Measure Wh, voltage, current and temperature
- 4Compatible efficient load and reserve
Site and operating requirements
- Record shade, usable area, local weather, cable route and access before selecting equipment.
- Match every electrical input/output and connector to the exact manufacturer datasheet; distinguish W, Wp and Wh.
Tools and measuring equipment
- Energy meter, soft cloth and direction reference
Output and operating conditions
Example field comparison: 12 W measured for 3 h delivers 36 Wh; 17 W for the same 3 h delivers 51 Wh. The 15 Wh difference is an example, not a predicted gain.
Original arithmetic; a universal tilt angle or cleaning improvement is not assumed. Measure output at the actual site.Parts, quantities and dimensions
| Part | Quantity | Specification / dimensions |
|---|---|---|
| Existing portable panel | 1 | Use its intended folding and support points. |
| Energy meter | 1 | Rated for the connected voltage and current. |
| Stable adjustable support | 1 | No sharp edges against the panel back. |
Preparation and component checks
- Check local wind and storm conditions.
- Confirm the meter does not limit the intended charging protocol.
Procedure
- 1
Choose a clear area where no branch or cord shades cells.
- 2
Place the battery in shade before aiming the panel.
- 3
Clean the surface only as permitted for the panel.
- 4
Rotate and tilt gradually while watching measured power.
- 5
Keep airflow behind the panel and secure its support.
- 6
Recheck after the sun moves and before wind conditions change.
Ready-to-use checklist
- The panel is stable and unshaded.
- The battery has shade and airflow.
Safety and inspection
Do not tie a lightweight panel to an exposed ridgeline or overload a tent with panel wind loads.
Verify the result
Compare positions under similar sunlight and record the reading before and after each adjustment.
Measurement log
- Power, position and time of reading
- Dust and shade conditions
Maintenance and repeat checks
- Remove accumulated dust without abrasive wiping.
- Inspect for bent cells, cracked surfaces or strained connectors.
Troubleshooting
- No output, abnormal heat, noise, vibration or leaks
- Stop and isolate first. Check the documented input, load compatibility, alignment and connections; keep guards fitted and refer specialist systems to their installer.