 Thaka.Ai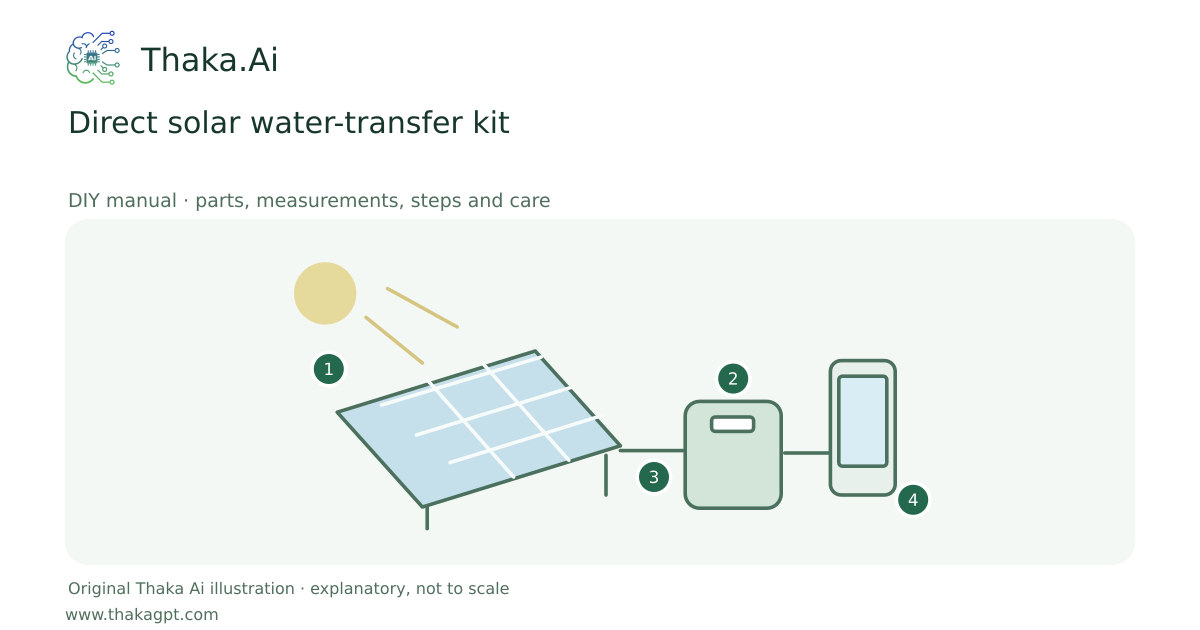
Reviewed 17 October 2026 · schematic not to scale
A matched low-voltage solar pump transfers permitted nonpotable water into a clean covered storage container. Store water when sunshine is available instead of adding a battery automatically.
- 1Unshaded panel and real sunlight
- 2Matched protected controller and storage
- 3Measure Wh, voltage, current and temperature
- 4Compatible efficient load and reserve
Site and operating requirements
- Record shade, usable area, local weather, cable route and access before selecting equipment.
- Match every electrical input/output and connector to the exact manufacturer datasheet; distinguish W, Wp and Wh.
Tools and measuring equipment
- Measuring jug, tape measure and timer
Output and operating conditions
Example: lifting 100 L through 3 m requires about 0.82 Wh hydraulic energy. At an assumed 20% total conversion efficiency, about 4.1 Wh electrical energy is needed before extra pipe losses.
Original lifting-energy arithmetic; pump selection must use its flow-versus-head curve. Free-flow ratings do not describe elevated delivery.Parts, quantities and dimensions
| Part | Quantity | Specification / dimensions |
|---|---|---|
| Matched low-voltage solar pump | 1 | Flow/head curve, dry-run protection and water compatibility documented. |
| Solar panel and controller | 1 set | Voltage/current matched to the pump operating range. |
| Hose, strainer and fittings | 1 set | Correct pressure, water use and connection size. |
| Covered storage container | 1 | Example 20 L ground-supported plastic water container; screened vent and overflow. |
Preparation and component checks
- Identify water use and actual lift height.
- Check dry-run and overflow arrangements.
Procedure
- 1
Confirm the water source, permission and intended nonpotable use.
- 2
Measure lift height, hose length and daily water demand.
- 3
Choose a pump using its actual operating curve.
- 4
Fit the strainer, rated hose and ground-supported covered container.
- 5
Keep connectors dry and connect the matched solar input.
- 6
Measure delivery and test dry-run/overflow controls before use.
Ready-to-use checklist
- The pump is protected from dry running.
- The container is covered and stably supported.
Safety and inspection
Pumping does not purify water. Use rated tubing and dry electrical connections; do not elevate a heavy tank on an improvised stand.
Verify the result
Measure liters delivered over time at the actual elevation and pipe length; check dry-run and overflow protection.
Measurement log
- Liters per minute at actual head
- Sun conditions and leaks
Maintenance and repeat checks
- Clean the strainer and inspect hose leaks regularly.
- Drain and dry for storage; protect the container from insects and contamination.
Troubleshooting
- No output, abnormal heat, noise, vibration or leaks
- Stop and isolate first. Check the documented input, load compatibility, alignment and connections; keep guards fitted and refer specialist systems to their installer.