 Thaka.Ai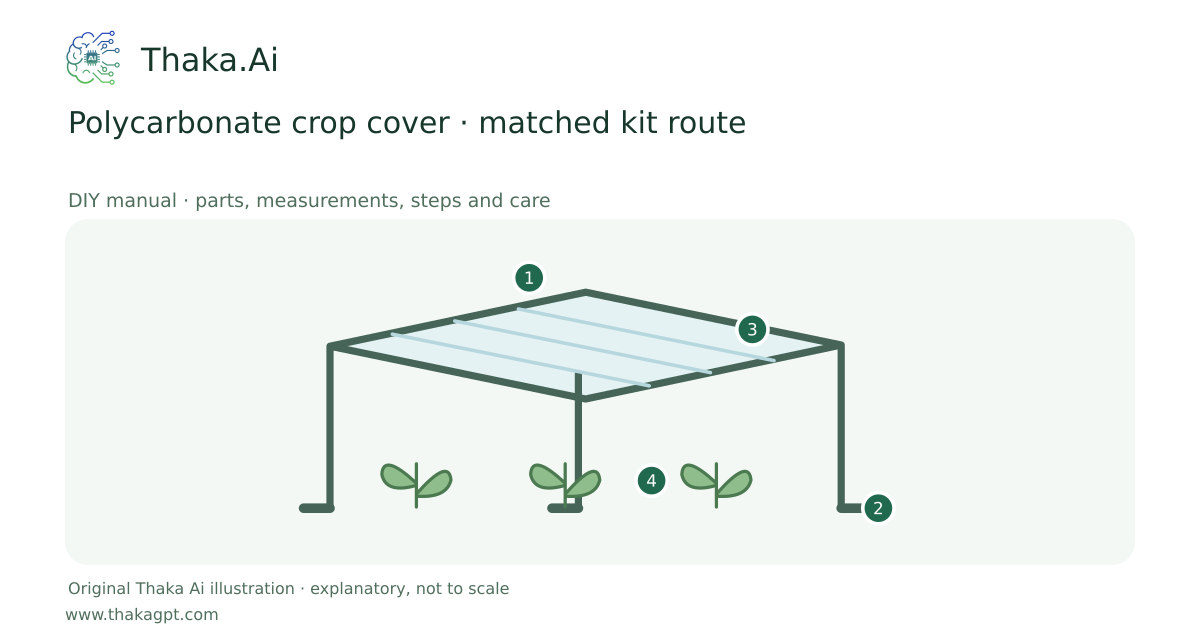
Reviewed 17 October 2026 · schematic not to scale
Use a documented canopy/greenhouse kit with verified panels and anchoring. The video does not establish a safe support span or hail rating.
- 1Matched manufacturer frame and panels
- 2Site-rated foundations and anchorage
- 3OEM spans, pitch, fixings and expansion gaps
- 4Ventilation, rain drainage and load inspection
Site and operating requirements
- Identify crop, season, water quality, soil/medium and local heat. Measure materials before cutting and confirm support and drainage.
Tools and measuring equipment
- Tape, level and the full matched kit’s specified cutting/fixing tools; installer-approved access equipment and required protection.
Output and operating conditions
A matched-kit crop cover with documented site loads and ventilation.
Panel thickness, roof pitch, purlin spacing, screw spacing and thermal gaps are taken together from the exact panel/kit instructions and local design loads. There is no universal cut list for every polycarbonate sheet.Parts, quantities and dimensions
| Part | Quantity | Specification / dimensions |
|---|---|---|
| Matched frame and panel system | 1 set | UV-stabilised panels with the required documented impact rating and a manufacturer-designed frame; check what the warranty actually covers. |
| Profiles, gaskets and fixings | per kit | Correct joining/edge profiles, gasketed fixings and permitted sealant from the same installation specification. |
| Foundations, anchors and drainage | site sized | Verified wind/uplift anchorage and drainage; open access and enough ventilation for hot conditions. |
Preparation and component checks
- Read the size notes first. Measure the purchased parts and label every piece before making any cut or hole. Keep access and cleaning space clear.
- Gather the whole shopping list, dry-fit where applicable and keep the complete linked source at hand. Source dimensions and original sizing examples are identified separately.
Procedure
- 1
Measure the intended area and ask the supplier/designer to confirm local wind, support, anchoring and impact requirements.
- 2
Obtain the complete drawings, parts list and current panel manual before purchasing or cutting.
- 3
Prepare the approved foundation and dry-assemble the frame square; confirm supports and fastening positions.
- 4
Cut/drill only as directed, allow the specified thermal movement and orient the UV-protected face correctly.
- 5
Fit matched profiles/gaskets and fix without over-tightening. Route drainage and keep ventilation openings functional.
- 6
Have the required installation checks completed before loading the area or relying on weather protection.
Ready-to-use checklist
- The selected kit’s thickness, spans, slope, fixings, thermal gaps and anchorage are documented and checked for this site.
- All edges, supports, drainage and access have been checked. Unknown critical specifications have been resolved before use.
Safety and inspection
Use the specified materials and complete source method. Ask a competent local specialist where site loads, electricity, water safety or unfamiliar tools are involved.
Verify the result
The selected kit’s thickness, spans, slope, fixings, thermal gaps and anchorage are documented and checked for this site.
Measurement log
- Date, actual dimensions, material/product labels, water/soil readings, actions, problems and results. Photograph the setup before use and after any change.
Maintenance and repeat checks
- Inspect fixings, cracks, movement, drainage and anchors after severe weather; clean only with panel-approved products.
- Never stand on panels or assume “polycarbonate” means hailproof. Ventilation/light must still suit the crop.
Troubleshooting
- Unexpected decline, pests, odour, poor growth or animal distress
- Pause the affected activity, separate suspect material and check the guide’s moisture, heat, hygiene, drainage and care requirements. Get a qualified diagnosis before treatment or reuse.