 Thaka.Ai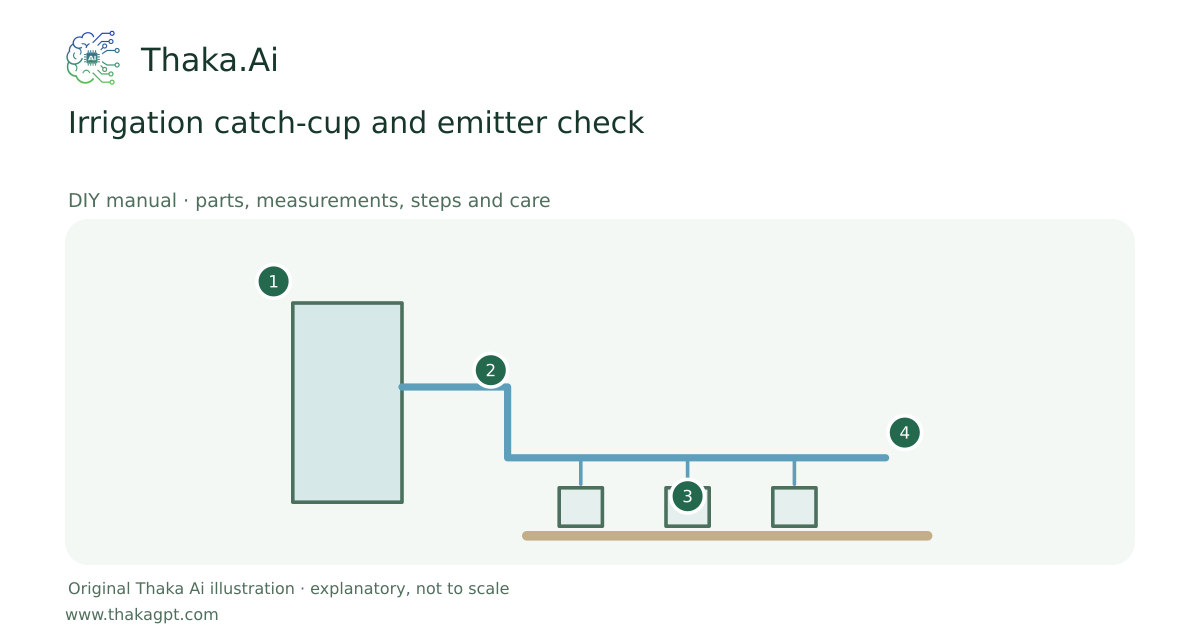
Reviewed 17 October 2026 · schematic not to scale
Measure actual irrigation delivery so blocked outlets and uneven coverage are repaired before watering longer.
- 1Measured clean source and correct pressure
- 2Matched distribution and root-zone delivery
- 3Collect measurements and check soil moisture
- 4Adjust schedule from the measured result
Site and operating requirements
- Identify crop, season, water quality, soil/medium and local heat. Measure materials before cutting and confirm support and drainage.
Tools and measuring equipment
- Timer, ruler and calculator
- Graduated jug for drip emitters
Output and operating conditions
Sprinkler rate in mm/h = average collected depth in mm ÷ run minutes × 60. Drip L/h = collected mL ÷ minutes × 0.06.
Original 12-cup, 10-minute screening example based on irrigation audit principles; extend sampling to suit each zone.Parts, quantities and dimensions
| Part | Quantity | Specification / dimensions |
|---|---|---|
| Identical straight-sided catch cups | 12 example | Use stable cups of equal opening area; do not mix funnel-shaped and straight cups. |
| Ruler or graduated measuring jug | 1 | Read sprinkler depth in mm; collect drip discharge separately in mL. |
| Timer and zone sketch | 1 set | Mark head or emitter locations, sample number and exact run time. |
Preparation and component checks
- Choose calm weather and record wind if testing sprinklers.
- Use cups of matching opening size and a consistent timer.
Procedure
- 1
Inspect one zone for broken, buried, tilted or blocked outlets before testing.
- 2
For sprinklers, distribute equal cups near heads and between heads without obstructing spray.
- 3
Run for an exact recorded interval long enough to obtain readable depth, such as a 10-minute screening trial.
- 4
Measure every cup and map low and high readings. Calculate the average and hourly application rate.
- 5
For drip instead, collect near, middle and far emitter outputs for the same timed interval and calculate L/h.
- 6
Repair, flush or adjust as instructed, retest, then set runtime using local crop, soil and weather needs.
Ready-to-use checklist
- No obvious leaks or blocked outlets remain.
- Runtime uses measured delivery and actual crop demand.
Safety and inspection
Keep electrical controllers dry and do not enter moving farm machinery. Do not confuse a measured rate with a universal crop water requirement.
Verify the result
Repeat after cleaning or adjustment. A large spread between samples requires a hardware or pressure check, not simply extra runtime.
Measurement log
- Each sample depth or volume, location and time.
- Repairs, average rate and repeat-test results.
Maintenance and repeat checks
- Clean cups and label them together; retest after replacing heads or changing pressure.
- Inspect filters and end-of-line sediment regularly using the irrigation manual.
Troubleshooting
- Unexpected decline, pests, odour, poor growth or animal distress
- Pause the affected activity, separate suspect material and check the guide’s moisture, heat, hygiene, drainage and care requirements. Get a qualified diagnosis before treatment or reuse.