 Thaka.Ai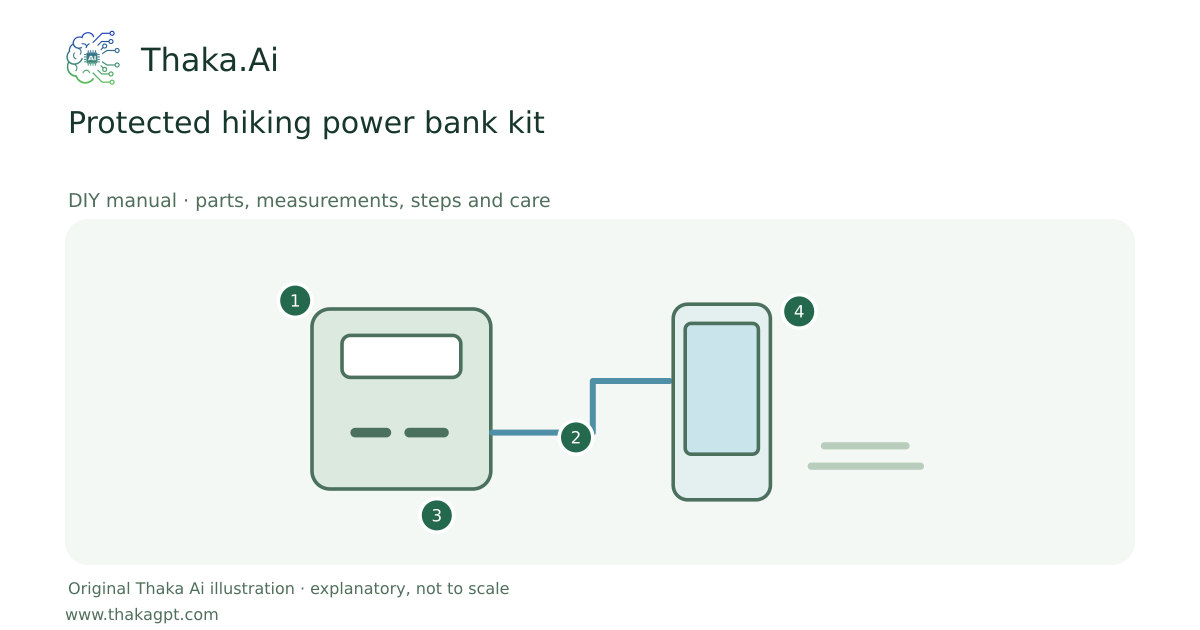
Reviewed 17 October 2026 · schematic not to scale
Carry a labelled preassembled power bank and matching leads. Size it in Wh rather than relying on the largest advertised mAh number.
- 1Intact protected assembled battery
- 2Match port, cable and load requirements
- 3Keep charging dry and within temperature limits
- 4Measure delivered energy and retain reserve
Site and operating requirements
- Identify the external energy input and the maximum permitted rotor, bearing and spring limits from the selected kit.
- Use a stable dry bench, guards and a clear stop procedure. Do not increase speed to chase a voltage reading.
Tools and measuring equipment
- USB meter and label-reading light
Output and operating conditions
Example: 10,000 mAh at a stated 3.7 V cell voltage equals 37 Wh nominal. At an assumed 80% delivered fraction, about 29.6 Wh reaches loads; actual results require measurement.
Wh = Ah × rated voltage. The label voltage is essential; USB output voltage and internal cell voltage are different quantities.Parts, quantities and dimensions
| Part | Quantity | Specification / dimensions |
|---|---|---|
| Protected power bank | 1 | Readable Wh rating, documented inputs/outputs and supported charger. |
| Compatible charging leads | 2 | One working lead and one tested spare for essential devices. |
| Protective transport pouch | 1 | Protects terminals from metal objects; remove or open as needed for safe charging ventilation. |
Preparation and component checks
- Document pack Wh and charging-temperature limits.
- Confirm the intended transport mode permits it.
Procedure
- 1
Read the Wh label and calculate trip demand.
- 2
Check recalls and reject visible damage or swelling.
- 3
Use a charger and lead supported by the pack.
- 4
Test charging for every essential device.
- 5
Pack separately from sharp objects and loose metal.
- 6
Charge only within stated temperature limits and keep the pack accessible.
Ready-to-use checklist
- No damaged or unlabelled cells.
- Essential devices have tested charging.
Safety and inspection
Do not assemble loose cells, bypass protection or use a swollen, damaged or recalled pack. Check the current airline rules for every flight.
Verify the result
Charge the actual devices through the actual cables and measure delivered Wh and connector temperature.
Measurement log
- Measured delivered Wh
- Device/cable combinations that passed
Maintenance and repeat checks
- Check swelling, unusual heat, connector wear and case damage before each trip.
- Store at the charge level and temperature recommended for that pack.
Troubleshooting
- No output, abnormal heat, noise, vibration or leaks
- Stop and isolate first. Check the documented input, load compatibility, alignment and connections; keep guards fitted and refer specialist systems to their installer.