 Thaka.Ai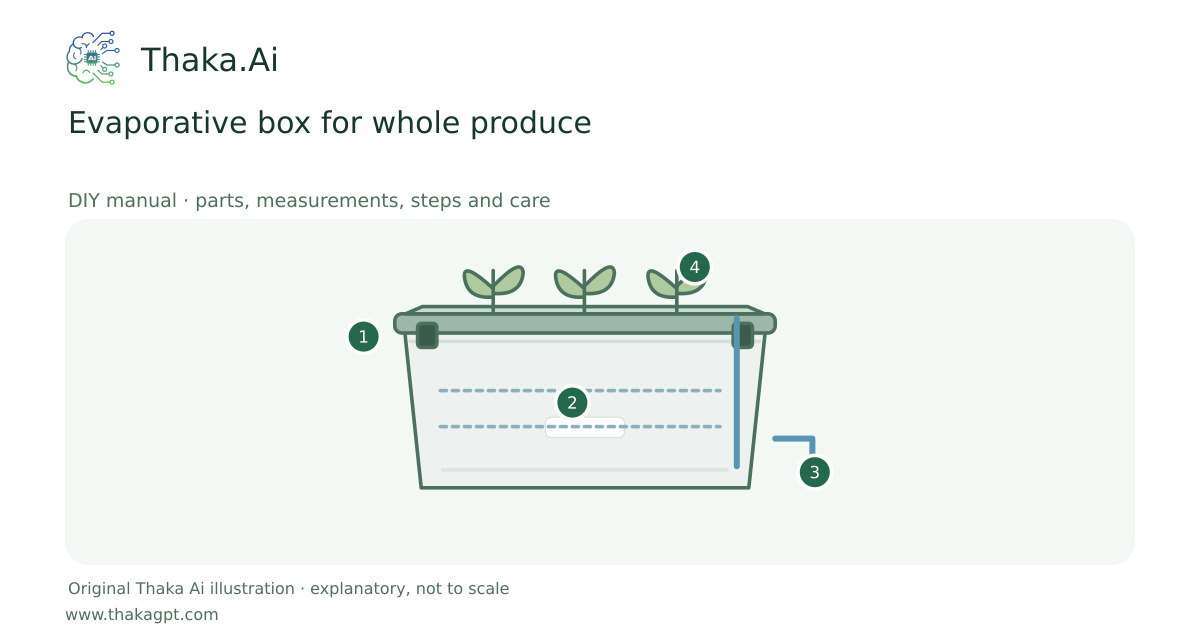
Reviewed 17 October 2026 · schematic not to scale
Test a shaded ventilated plastic produce box with an external wet cloth to slow wilting in dry air.
- 1Measured clean plastic storage box
- 2Supported divider and compatible growing medium
- 3Separate fill and overflow below the support deck
- 4Monitor water, roots and wet load
Site and operating requirements
- Measure the purchased components before making a cut template. Mark wet and dry zones, fan guards, drain and accessible stop.
- Use manufacturer-compatible low-voltage equipment and keep the mains power supply outside condensation and spill areas.
Tools and measuring equipment
- Measuring tape, thermometers and humidity meter
- Cloth clips, cleaning brush and gloves
Output and operating conditions
Cooling depends on air dryness and movement; it cannot cool below the local wet-bulb temperature. No fixed temperature drop is promised.
Original small-box adaptation of established evaporative produce cooling. Example box 600 ×400 ×450 mm; compare measured inside and ambient temperatures.Parts, quantities and dimensions
| Part | Quantity | Specification / dimensions |
|---|---|---|
| Clean ventilated plastic produce box | 1 | Example 600 ×400 ×450 mm with a fitted ventilated lid and insect screen; no airtight enclosure. |
| Washable external wicking cloth | 1 wrap | Clean absorbent cloth outside the produce compartment, kept moist without blocking air passages. |
| Shallow plastic catch tray and water | 1 set | Keep fabric moist with clean water; drain excess and protect water access from insects. |
| Two thermometers and humidity meter | 1 set | Compare shaded ambient and inside conditions at the same time. |
Preparation and component checks
- Use a box meant for produce contact and a washable cloth.
- Choose crops compatible with humid short-term storage.
Procedure
- 1
Choose shade with natural airflow away from dust, livestock waste and chemical storage.
- 2
Wash the box, lid, tray and cloth; inspect food-contact surfaces and screens.
- 3
Fit the damp cloth around the outside while leaving a continuous air path and clean dry produce compartment.
- 4
Set the box securely over its catch tray and place separate inside and ambient thermometers.
- 5
Run empty, recording temperature, humidity and water use; proceed only if the method benefits the intended whole crop.
- 6
Load sound whole produce loosely, close the ventilated lid and inspect quality daily; use proper refrigeration where needed.
Ready-to-use checklist
- Airflow and insect barriers remain open and sound.
- Measured benefit exists; no cold-chain food is being stored.
Safety and inspection
This is not a refrigerator for meat, dairy, medicines or cut produce. Do not leave edible surfaces in dirty water or allow stagnant water and mould to accumulate.
Verify the result
Run an empty comparison trial first, then use only compatible whole produce and inspect daily. Humid coastal weather may give little cooling.
Measurement log
- Inside and ambient temperature, humidity and water use.
- Crop condition and any condensation, pests or mould.
Maintenance and repeat checks
- Keep cloth clean and damp; empty stagnant tray water and wash surfaces regularly.
- Stop for mould, pests or no useful temperature improvement; reassess whenever humidity changes.
Troubleshooting
- No output, abnormal heat, noise, vibration or leaks
- Stop and isolate first. Check the documented input, load compatibility, alignment and connections; keep guards fitted and refer specialist systems to their installer.