 Thaka.Ai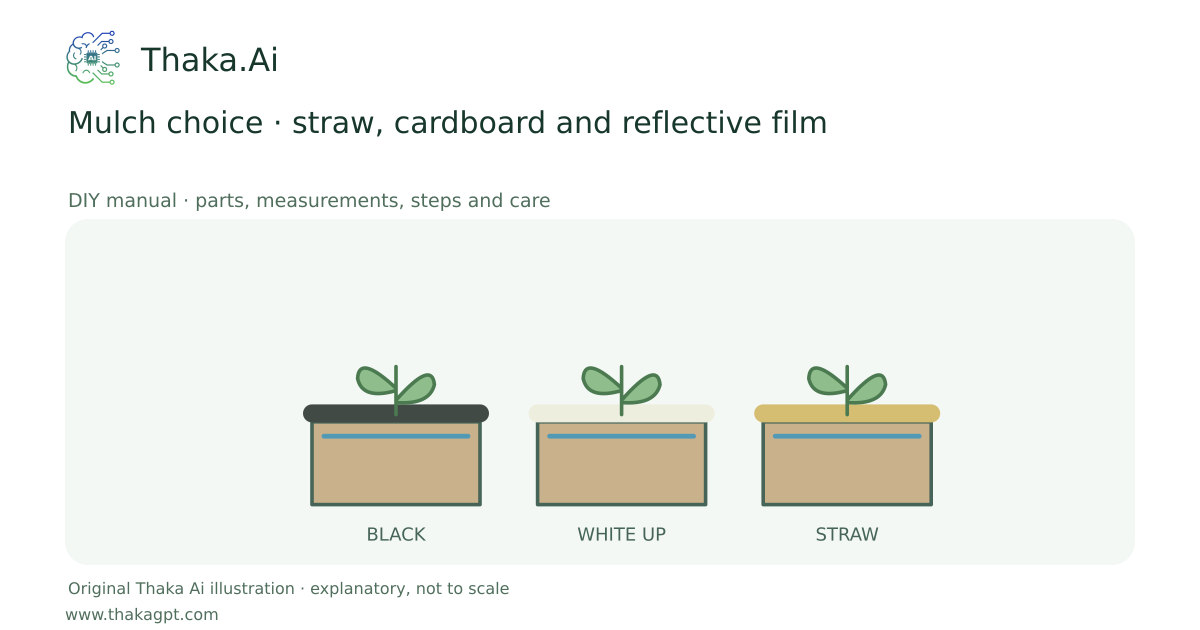
Reviewed 17 October 2026 · schematic not to scale
Choose mulch for the crop and season, then combine it with tested root-zone watering.
- 1Choose colour/material for the crop and season
- 2Test drip irrigation before covering
- 3Leave the stem clear and secure edges
- 4Remove ordinary plastic after use; compost clean organics
Site and operating requirements
- Identify crop, season, water quality, soil/medium and local heat. Measure materials before cutting and confirm support and drainage.
Tools and measuring equipment
- Tape, scissors/knife with protected cutting surface, drip testing measure, mulch rake and edge anchors appropriate to the site.
Output and operating conditions
A crop-appropriate mulch trial with irrigation, temperature and weed observations.
Clean straw around established plants: roughly 50–75 mm; small seedlings need a thinner layer, around 25 mm or less. White-on-black film is laid white side up; ordinary clear film is not a weed-blocking substitute.Parts, quantities and dimensions
| Part | Quantity | Specification / dimensions |
|---|---|---|
| Chosen clean cover | measured area | Weed-seed-free straw, plain uncoated cardboard or crop-labelled mulch film. Use known clean material without herbicide residues. |
| Irrigation and edge anchors | 1 set | Test the drip line first; choose soil burial/anchors compatible with film and local wind. |
| Hand tools and labels | 1 set | Ruler, scissors, gloves and a bed/crop label. Remove tape, staples and plastic from cardboard. |
Preparation and component checks
- Read the size notes first. Measure the purchased parts and label every piece before making any cut or hole. Keep access and cleaning space clear.
- Gather the whole shopping list, dry-fit where applicable and keep the complete linked source at hand. Source dimensions and original sizing examples are identified separately.
Procedure
- 1
Remove weeds and check soil moisture/drainage. Install and test irrigation before covering it.
- 2
For straw, spread the appropriate loose thickness around established plants and leave stems/crowns clear.
- 3
For cardboard, overlap plain cleaned sheets, wet to settle and follow the existing no-dig-bed guide for planting and cover.
- 4
For film, prepare a smooth damp bed, place it in soil contact, anchor edges and make crop-spaced planting holes.
- 5
Black film warms soil; white-on-black can reduce heat absorption; reflective silver has crop/pest uses. Choose using actual seasonal root-zone temperatures.
- 6
Check moisture underneath rather than adding water by appearance. Remove ordinary polyethylene after the season; do not dig it into soil.
Ready-to-use checklist
- The cover suits the crop/season, soil remains appropriately moist and the crown and drainage are unobstructed.
- All edges, supports, drainage and access have been checked. Unknown critical specifications have been resolved before use.
Safety and inspection
Use the specified materials and complete source method. Ask a competent local specialist where site loads, electricity, water safety or unfamiliar tools are involved.
Verify the result
The cover suits the crop/season, soil remains appropriately moist and the crown and drainage are unobstructed.
Measurement log
- Date, actual dimensions, material/product labels, water/soil readings, actions, problems and results. Photograph the setup before use and after any change.
Maintenance and repeat checks
- Replenish settled straw only as needed, remove weeds through holes and inspect film tears.
- Do not compost ordinary plastic, use clear film as a weed barrier or leave cardboard/plastic loose in wind.
Troubleshooting
- Unexpected decline, pests, odour, poor growth or animal distress
- Pause the affected activity, separate suspect material and check the guide’s moisture, heat, hygiene, drainage and care requirements. Get a qualified diagnosis before treatment or reuse.